This is in response to several requests for more detail on bias fringing after viewers saw my jacket in the Reader’s Closet section of Threads Magazine. I don’t have any more of the fabric used in the jacket available but have used a close substitute in these demos.
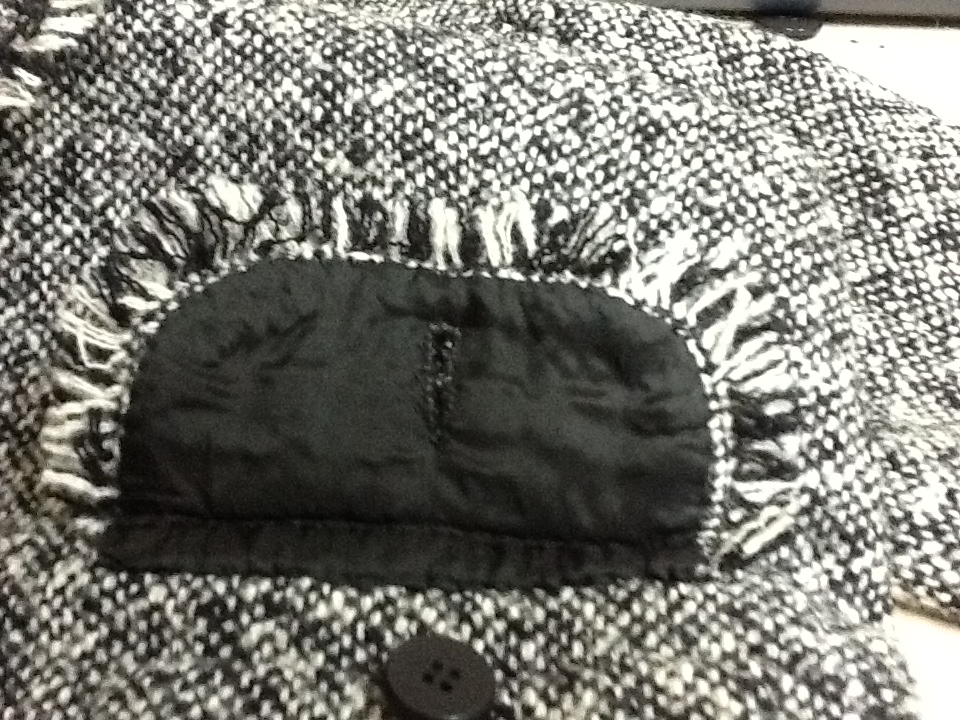
The pocket fringe is made by cutting 1 inch wide strips of fabric on the true bias. Staystitch 1/2 inch from the edge using a short (about 1 mm) stitch. Stitch again on the same line. You don’t want the fabric threads pulling loose. Use a knitting needle or tapestry needle to gently unravel the fabric along one side. Measure the outside edge of each pocket flap and make a strip of fringe long enough for each pocket. Sew the fringe around each flap edge rght sides together. Turn, press and fell stitch the lining to the wrong side. Trim the fringe to the finished width you want either with scissors or rotary cutter.

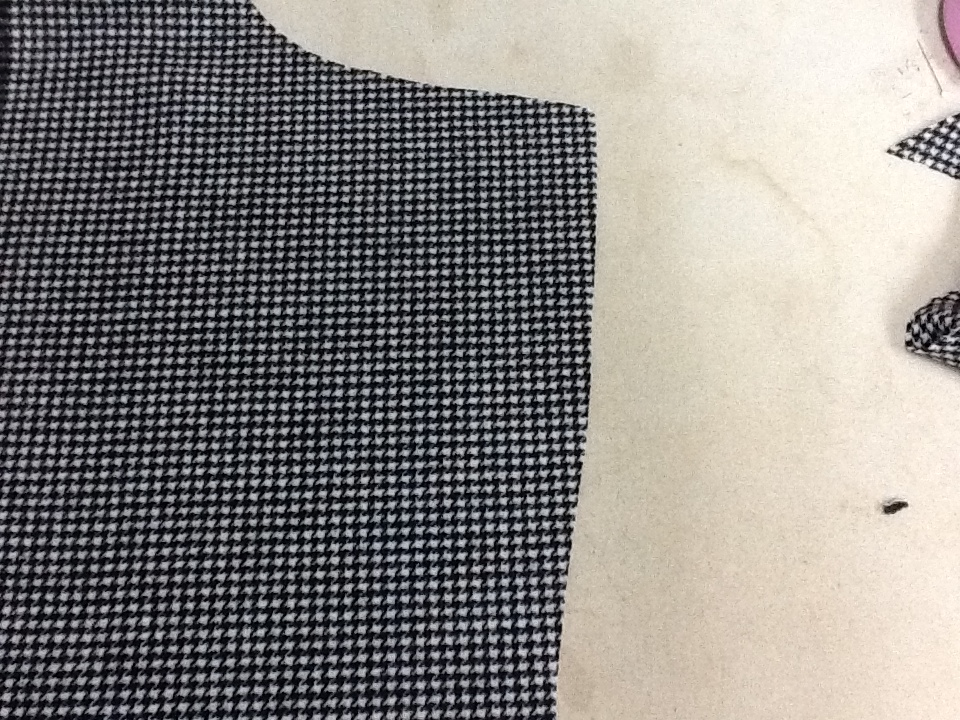
For the front lapel facing, cut a bias strip 6-7 inches wide and about 6 inches longer than the jacket front. You will need this extra length as the lower curved edge is treated like giant piping. Staystitch and unravel as before. At the top where the lapel makes a right angle, cut your bias at a right angle leaving extra to cover the underside of the neck facing.

Shape the bias strip to match the contour of the front lapel using a steam iron.
Turn the jacket seam under, slip baste, and sew the shaped lapel to the jacket. You won’t be able to ease all the fabric out at the lower edge where there is a curve. Sew a couple of darts in the facing to curve it around.
Red threads highlight where two darts are sewn to allow facing to curve.

Hope this helps clarify the techniques used. Please leave a comment if you need more info.
I’m working on Marfy 3182 and hope to have that post ready tomorrow. Here are a couple of preview shots.


Beautiful jacket and thanks for the tip!
Thanks. My ready-to-wear fast is inspiring loads of new projects.
I think you may have solve a problem I was having with a skirt. It’s been sitting in a UFO pile for months. I should get it back out and try your method. Thanks.
Glad it was useful. I’ll be following your blog so please post photos and show us how it turns out.
I love, love, love your Marfy jacket! It looks fantastic! Thank you so much for the construction details!
I’m wondering as I have been reading that Marfy has a lot less easy than the Big 4 pattern companies what size I should cut in the Simplicity 2446 jacket pattern I’m about to cut out. It has 5 inch ease in the bust area, 8 inch ease in the waist area and 6-12 inch ease in the hip area. It sounds like a lot of ease even to me (who has not that much sewing experience). How much ease do you normally like? Many thanks for any feedback!
I usually choose the size closest to the high bust not the full bust. Get the tape measure around your back at underarm level and then bring to the front keeping the tape high under your arms. I find that gives a better fit through the neck and shoulders which are much more difficult to alter than the bust, waist or hip. If you are larger than a B cup you’ll need to do a full bust adjustment. I think many sewers start with the wrong size pattern and set themselves up for complicated adjustments. You may need to do a little experimentation as a larger boned body might need the next larger size. Hope this helps. Make a test garment from fabric similar in weight to the fabric you will be using. This also helps get a true read of how the pattern will fit.
Hi, could you tell me please in detail how you create the collar and interface together?
Thank you
Thank you Jana. The under collar is pad stitched by hand and a bias cut upper collar is attached. The bias edges of the upper collar are fringed.