One of my blogging buddies, Kate at Fabrickated, has been exploring the world of garment draping. She has several recent posts documenting her experiences and produced some lovely draped skirts. Head over to her site for some inspiration. Her latest post deals with an asymmetric pleated skirt drape, not the easiest thing to tackle. I’ve done this a few times and offered to post a pictorial of the steps I take when doing this type of garment.
Judging from the directions Kate was given, I suspect her instructor is referencing a text “Draping: Art and Craftsmanship in Fashion Design” by Annette Duburg. It is sold on Amazon for an exorbitant price and was (as I understand) out of print for awhile. Fortunately it is now available at the Center For Pattern Design in St. Helena, CA. Latest price when I checked was $60. It’s not a beginner book but will push those with some experience to a new level.
This is a detailed post with many photos but I wanted to err on the side of too much information rather than too little. Draping is more technical than just wrapping the muslin around a dress form and this might shed some light for those of you who want to give it a go.
You will need a dress form. The closer your form is to your (or person you are doing this for) size, the less fiddling you will need to do with the finished pattern. A professional form is ideal. If yours is the adjustable kind it will have gaps and knobs, so cover it with a tight tee (or two) so you have a somewhat solid surface to pin into. I’m working on a professional form which I have padded to my exact size and covered it with a tight linen cover that mimics my shape. Permanent lines mark center front, back, bust and hip. These serve as points of reference during the draping process.
Choose a fabric which has similar weight and drape to your finished garment. You don’t want to drape in heavy canvas or a slinky sheer. A solid light color is best as a print will be distracting and prevent you from seeing the style lines clearly.
TEAR, don’t cut, a length of muslin the guesstimated skirt length plus 60 cm (about 23 inches). This is overly generous but what Kate was given in her directions, so I won’t confuse the issue. I used 150 cm (60 inch) wide muslin, which is what is called for in Duburg’s book. The book has five photos of the process and assumes you are quite experienced so this will be a much more detailed explanation.
Lay your muslin out flat and mark a line 50 cm (20 inches) in from the left side along the lengthwise grain. I like to do this in a dotted red line to distinguish the fabric grain from subsequent markings. The light colored muslin allows me to see the dress form lines through the fabric. Leave about 15 cm above the waist and pin the muslin to the center front at the waist and bottom of form. Keep the grain line straight.

Closeup of my grain line marking:

Starting at the center front hip line, gently smooth the fabric along the hip line towards the right side seam.

Smooth the fabric around and pin at the waist on the right side.

You will have fullness at the waist. This would be converted into a waist dart on a straight skirt but I don’t want a dart on this draped panel, so we’re going to transfer this excess fabric to another location. If you’ve ever studied dart manipulation, you know that fitting darts can’t be taken out but they can be moved.
Working diagonally from the center front hip towards the waist side seam, smooth the fabric. You will be able to remove some, but not all of the excess fullness. Don’t pull or stretch the fabric, just gently smooth it with your hand. Re pin the side seam.

Now work from the right hip diagonally up towards the center front smoothing out the remaining fullness. Remove the pin at the center front waist and allow the center grain line to move to the left. Don’t get right and left confused here. When I refer to right or left, I’m talking about the FORM’S right or left side. Pin along the waist from center front to right side seam.

You will now see some fullness along the left waist. We are going to incorporate this into soft pleating.

The fabric is tight above the waist and I like to clip it, relieving the tension. Be careful not to clip into the seam. I fold the fabric towards me along the seam line, insert sharp scissors not quite to the fold and clip. No risk of clipping too far that way.
Form the first pleat: Decide where you would like the uppermost pleat to lie. I wanted it to run diagonally across the abdomen from the left side to just above the hip on the right side. I find it easiest to visualize it as a big dart. Place your left hand at the dart point and hold the bulk of fabric on the form’s left side in your right hand. Lift the fabric and allow a soft pleat to form.

Adjust the depth of the fold. I have about 2.5-3.0 cm takeup. The depth of the fold is your choice but this seems like a good amount, not too shallow so it looks unintentional and not so deep you are dealing with unwanted volume. Pin through all layers at the waist seam. Repeat the process for the next pleat. I offset the pleats from each other at the waist so they don’t stack up one on top of another. You may need to play with holding the fabric away from the form and letting it fall into a soft fold a few times before getting a pleasing look. Don’t rush. Get each one right before going on. It is much harder to come back and adjust after you have pleats on top of more pleats. Let the fabric fall as it wants. An important part of successful draping is to let the fabric tell you what it wants to do. Don’t force it.

Repeat for a third pleat.

Notice how the red grain line is drifting all over the place. This is supposed to happen. Having it marked in red and being able to see the black CF line on the form is helpful so you understand exactly how this grain line is shifting.
I think three pleats here are enough and now I’ll shift the pleat direction and allow them to fall more along the side seam.

These pleats are formed exactly the same way. Decide where you want the pleat to fall, how full it should be, hold the fabric up with your right hand and let it fall into a soft pleat. Pin at the waist and repeat two more times.


Happy with the look. If not, unpin back as far as needed and try again. Nothing has been yet cut so you are free to do this until you are satisfied. Be aware of how much fabric overlap you are creating. This pleating resulted in 13 layers of fabric so be sure the fabric you are planning to use is thin enough so multiple layers won’t be a problem. I would use a fairly lightweight fabric for this design and even so, it’s going to need some serious pressing to get a smooth waistline seam.
Now you need to mark all the design and seam lines so this design can be laid flat, cut and put back together. A professional form will have slightly raised side seams so you can feel them through the fabric. Mark along the right side seam line.

Also mark the hipline and new center front. I mark seam lines in black and balance lines (that’s the hip and CF) in blue. Tie a length of elastic around the waist and carefully draw the waist seam.


Trim the excess fabric. I leave a 2 cm seam. Make sure all your pleats are laying nice and flat; mark and cut the seam carefully. You’ll need the resulting odd shaped edge to re-position your pleats. I have also placed a little mark about where I want the curved edge of the skirt to end.The reason for marking this will become clear when we remove the fabric from the form. Mark the hem. Also I placed pins in the approximate place where I want to trim the left side.

Mark each pleat carefully. I have marked all the pleat fold lines in green and drawn arrows to indicate what folds where.


Starting with the last pleat you formed, work backwards marking each pleat and removing pins as you go. I like to mark almost the entire length of the folds; it makes it easier for me to see exactly where I want each pleat placed when I return this to the dress form.

Remove the fabric from the form and re-pin all the pleats. Lay it flat on your work table and mark the new center front line. Also drop the right side seam to the hem, tapering slightly if desired.

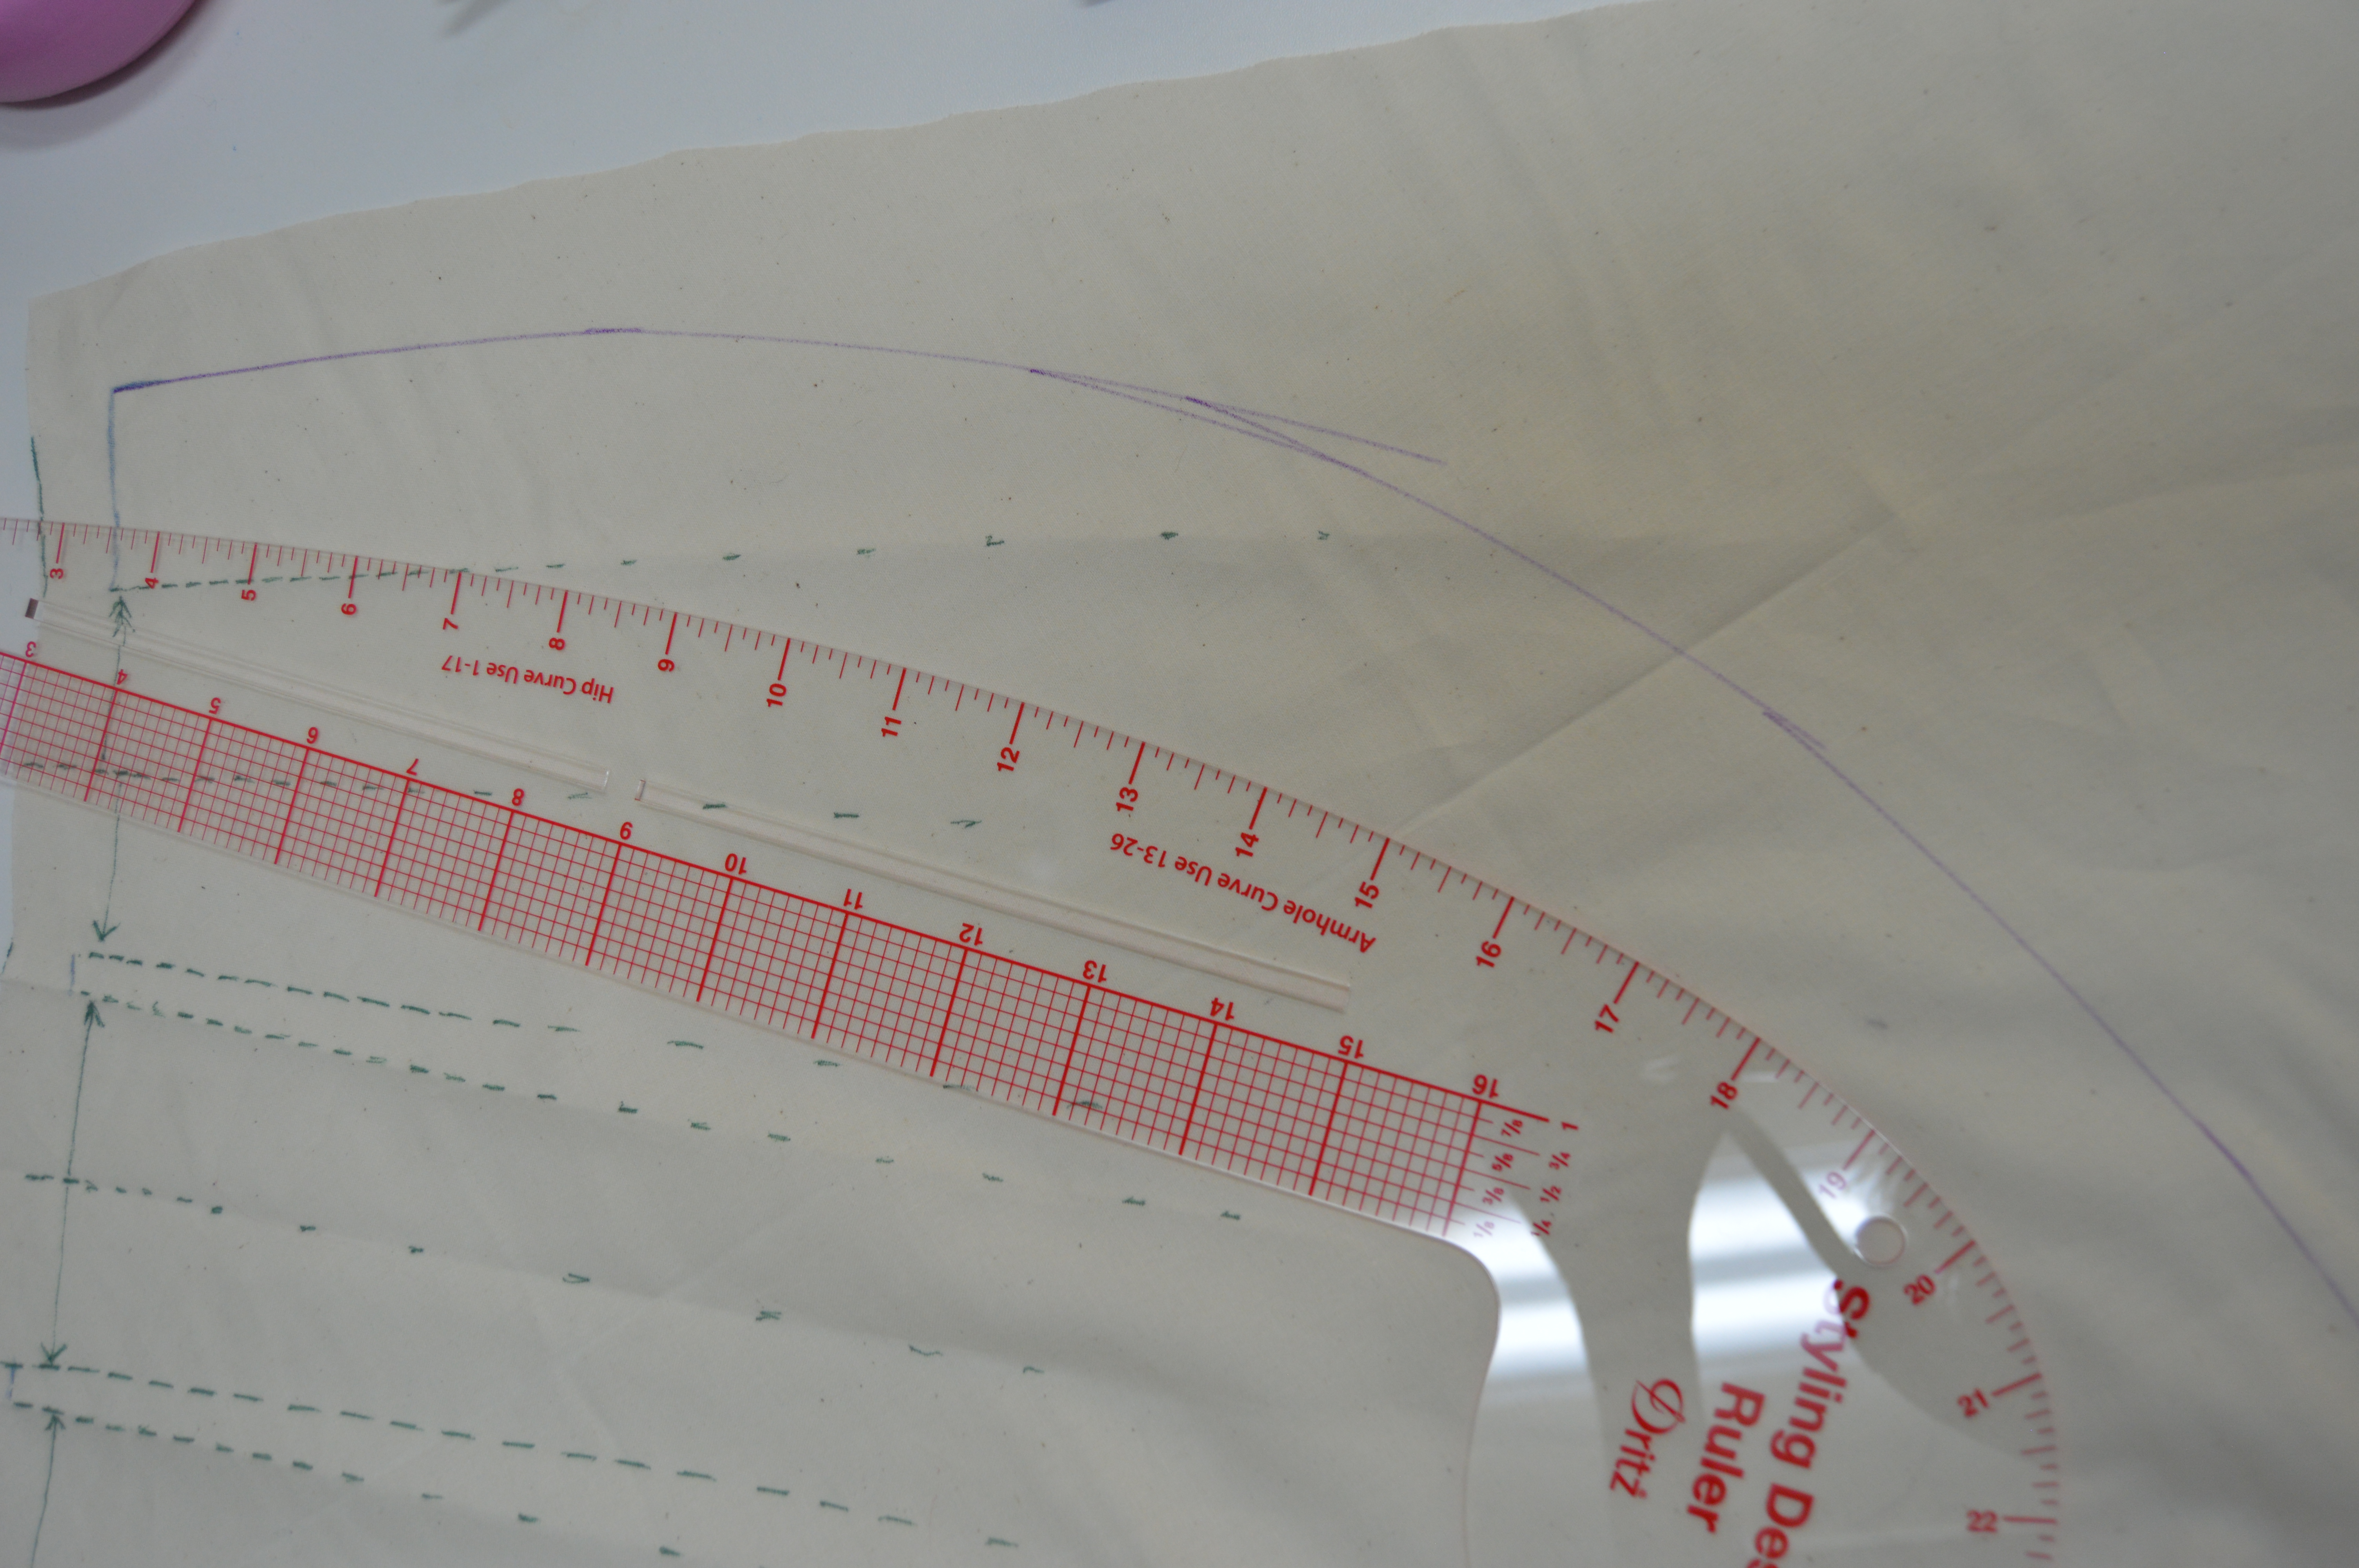
Remove all the pins from the pleats and lay the fabric flat. I now want to cut a smooth curve along the left edge. Using a drafting curve create a smooth curve from the hem up to the mark I previously placed at the left side seam. The mark was to ensure that the pleat underlay was covered by the last fold.
Finished drape. The irregular edge is your guide to reforming the pleats so be sure to cut it accurately when you cut your fashion fabric.

Return the section to the dress form and pin in place. Check that everything lines up and you are happy with the final look.

I decided to create a steeper curve along the left edge.


The remainder of the skirt is draped as a simple straight or pencil skirt starting at the right side seam, around the back, past the left side seam to the center front. Don’t forget that this still needs to be sewn up and fitted on the wearer’s body. The closer the form is to the body shape, the less altering will be required. If you decide to do much draping, then a form which mimics your body will save hours of work.
I hope this has made the draping process clearer. There are many ways to approach draping but the more you do it the faster and more adept you will become. It will also give you a clearer understanding of with fabric will and won’t do and you will be better able to judge if a particular fabric will work in the design you have chosen. Have fun!
Mary – Many thanks for this amazing tutorial. I can’t wait to try it out. I hope others will do so too. You have explained the process so beautifully and your photographs are excellent. I really wanted those diagonal pleats. I will try everything you have suggested and report back. You are so generous and such as great teacher. With love and gratitude, Kate
Glad you liked it. I hope this helps with your draping skills. It required way too many pics to try any other way. Maybe others will enjoy also. I’ll be watching for the final result.
Thanks, what a great tutorial!
Hope you find it useful. There are many on the internet now but I found them all very basic.
I don’t think that I will be doing this. I loved this tutorial,, it seems doable, very clear. Thank you.
Perhaps you will give it a go in the future.
Excellent explanations and photos. I love the photos – I seem to learn better by seeing/watching! Thank you!
Glad it was clear to you. I thought about sending a written comment to Kate but realized it would be much easier to do by photos, hence the post. Way too much graphics to imbed in an email plus I thought others might enjoy seeing the draping process.
Good idea! 👍
I own several draping books and Duburg’s is hand down my favorite!! Great post!
So happy I have this book. I looked through your blog posts; so interesting and I will be a frequent visitor to your site.
So happy you found this helpful. I felt your frustration and thought I could shed some light on the process. Your draping classes sound fascinating and I’ll be watching for your next adventures.