Having a dressform that duplicates the figure you’re sewing for makes the process SO much easier! Your model stands perfectly still for hours and doesn’t mind being stuck over and over with pins. She also eliminates the need for multiple in-person fittings, which was a life-saver during the worst days of COVID.
Here’s my process to create this gown which made it’s debut at the recent opening of Carnegie Hall in NYC. The design was inspired by this exquisite pleated tulle from Mendel Goldberg Fabrics.


I start by draping the fabric on the mannequin and experimenting with how it will drape and best positioning of the design. This fabric was meant to have a full skirt with one seam at center back. Additional seaming would have interrupted the flow of fabric. I also secured a full tulle underskirt to the form to get a clear vision of how much fabric was needed for the skirt.


The bodice looked best using the denser side of the lame portion at the neck and semi sheer section along the waist. I tried two versions, one using the sheer tulle for the back, a second option with the gold. I decided on the first option as the sheer back seemed more interesting; the gold back was too much gold. With the skirt basted into a grosgrain ribbon waistband, the design was complete.


Pattern work for front bodice: left photo is 1/2 of front which will be cut with fold at center front. In order to cut it with the neck gathered fuller, I drew 6 evenly spaced lines from neck to waist, left the pattern attached at the waist and spread out along the neck edge until the side seam was parallel to center front. The altered pattern was traced onto a new sheet of paper.
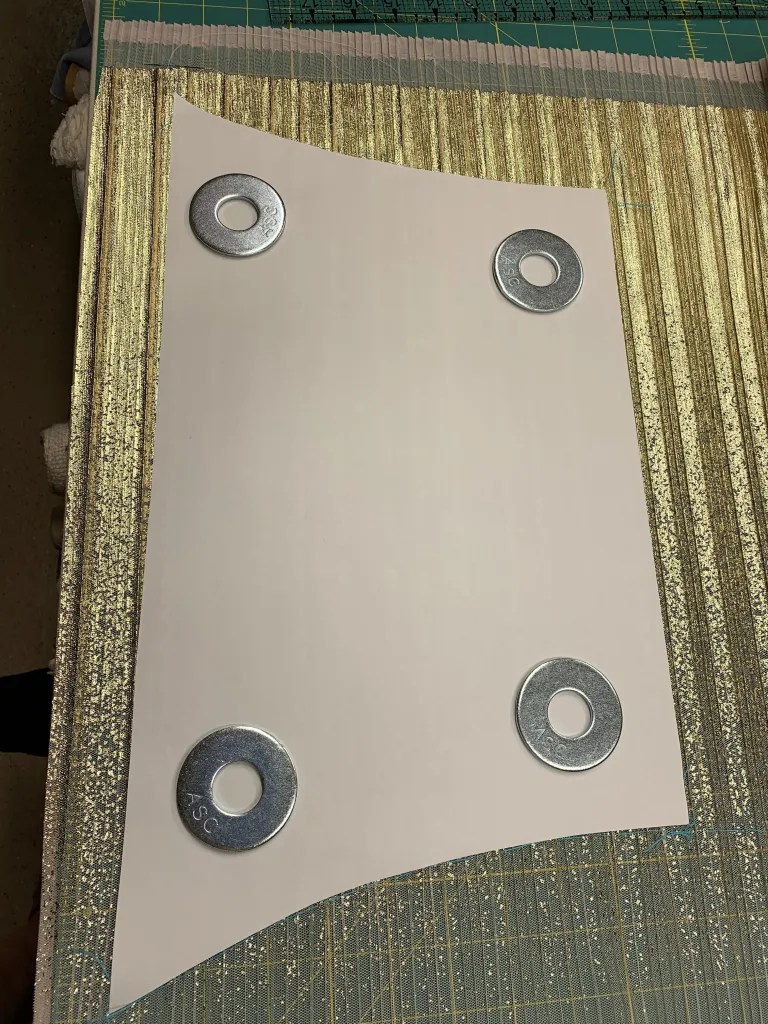


Left photo shows altered pattern on the tulle. Neck is at the top, waist at bottom with center fold at the right edge. Placed on the form, checked for accuracy and waistline thread traced. The back was cut from sheer portion of the tulle with pleating running vertically.


Basted everything together for a final fit check. I opted to finish the neckline with a stand collar of gathered tulle cut from the gold portion. A zipper in both underskirt and tulle allows the outer layer of tulle to hang freely; attaching it to the inner layers resulted in unattractive pulling. An inner waistband of grosgrain ribbon holds everything in place and supports the weight of the skirt.


Final try-on in the studio; fit was perfect on the first go thanks to a custom form and worn for gala night out.
exquisite!!!
Thank you.
Such an elegant and ladylike creation.
Thanks. So much of what’s shown now is “how much skin can you show.”
Mary, this is so inspiring. Your dress is unbelievably gorgeous. Such an exciting event, too!
I have been thing about taking the leap and buying a dress form now that I live in a larger apartment.
Do you have any recommendations on where to purchase one?
-Lisa
Thank you. Two good sources are theshopcompany.com and mannequinmall.com. You just need a professional style form with a sturdy base. I pad the form to size and add a custom drafted outer cover to duplicate the desired body. Older forms can also be found on EBay. The condition isn’t that important as you’ll be replacing the cover. I will be doing a post on creating a custom form in the next week for more info.
I love your process—using the fabric to its advantage, and the details are divine! Such a neat and trim finish that gives the dress such polish.
Thank you. This was a case of the fabric telling me what to do. I hope your new custom form makes designing more fun and easier.
True Couture.
Thank you.
So beautiful
Thank you for the compliment.
Smashing!
Thank you so much.
I love this. Is their a blog post on how you create a custom dress form? It seems that you have built a form to go over your current dress form?
Look at the post from April 20, 2020 for more info about padding and covering a form. I’ll also be doing an updated dressform post shortly. I teach my method by Zoom class or in-person. I have two classes scheduled in Palm Beach Gardens, FL. Check the class schedule for more info or email me. Thanks for asking.
I loved seeing how you used the fabric to the best advantage. Did you select the fabric first without knowing the look of the final dress? How much fabric do you purchase for draping? Your draping and finishing is wonderful, I love seeing your skills. Thank you for sharing your gift with us.
The fabric inspired the dress, so yes, fabric came first in this case. I knew I wanted about three yards or 108” for a full skirt. The fabric was 54” wide so bodice could be cut from another 5/8 yard. I didn’t know exactly how I was going to design bodice but figured 5/8 yard would be enough for any sleeveless top. I often work in expensive fabrics so don’t want to purchase too much extra. Thanks for asking.
Mary: I have followed your blog for years, and I am grateful for your generous and detailed explanations, deep expertise, and clear writing–not to mention your beautiful creations. I was about to purchase a dress form when self-doubt got the best of me, and I then I saw your post. I took it as a sign to Go for It. Next milestone: A Mary Funt class! Thank you for sharing your talents.
Thanks for letting me know you enjoy reading the blog. I have two dressform classes planned, one in November and another in January. More are planned if those dates don’t work for you.
Wow! Incredible work, Mary you make dreams come true! Thank you for inspiring us.
Thank you. This dress was so much fun designing and sewing.
That design is absolutely stunning. I hope the young lady loved being in that elegant princess. I love the fabric and what you have done with it. The back was definitely the right choice.
Thank you. She loved it.
I know I’m late to the party, I haven’t been checking in with yours and other blogs, although I consider your posts the best on the web. So…exquisitely designed gown and impeccable construction!!! Now for the boring question, how did you hem the skirt and how much length did you have to hem?