

This is in response to several requests for more detail on bias fringing after viewers saw my jacket in the Reader’s Closet section of Threads Magazine. I don’t have any more of the fabric used in the jacket available but have used a close substitute in these demos.
The pocket fringe is made by cutting 1 inch wide strips of fabric on the true bias. Staystitch 1/2 inch from the edge using a short (about 1 mm) stitch. Stitch again on the same line. You don’t want the fabric threads pulling loose. Use a knitting needle or tapestry needle to gently unravel the fabric along one side.

For the front lapel facing, cut a bias strip 6-7 inches wide and about 6 inches longer than the jacket front. You will need this extra length as the lower curved edge is treated like giant piping. Staystitch and unravel as before. At the top where the lapel makes a right angle, cut your bias at a right angle leaving extra to cover the underside of the neck facing.

Shape the bias strip to match the contour of the front lapel using a steam iron.
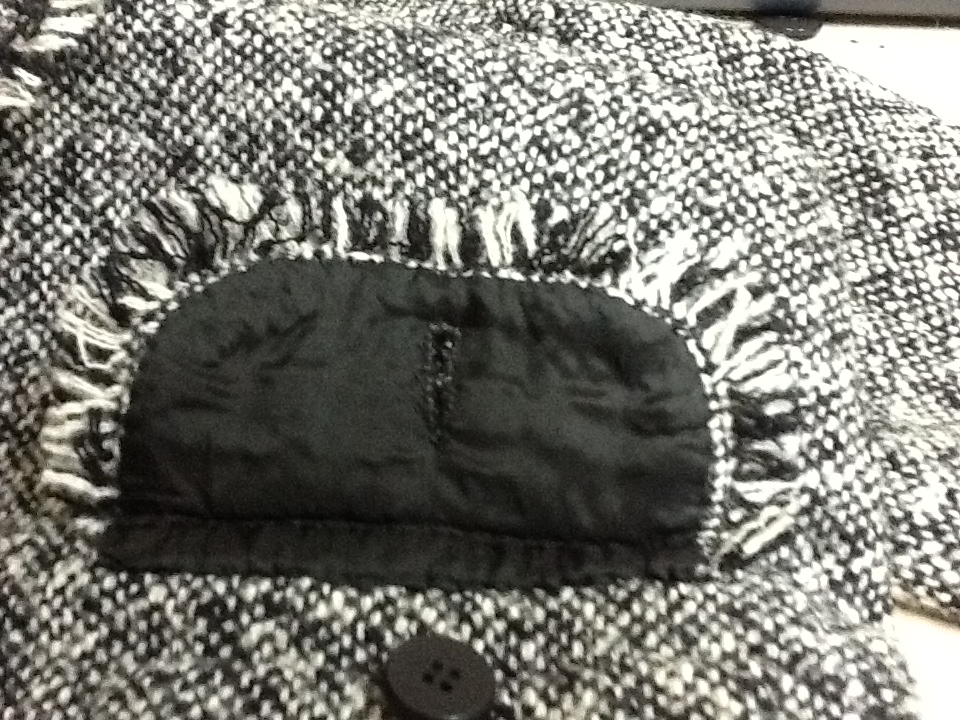
Turn the jacket seam under, slip baste, and sew the shaped lapel to the jacket. You won’t be able to ease all the fabric out at the lower edge where there is a curve. Sew a couple of darts in the facing to curve it around.
Red threads highlight where two darts are sewn to allow facing to curve.

Hope this helps clarify the techniques used. Please leave a comment if you need more info.
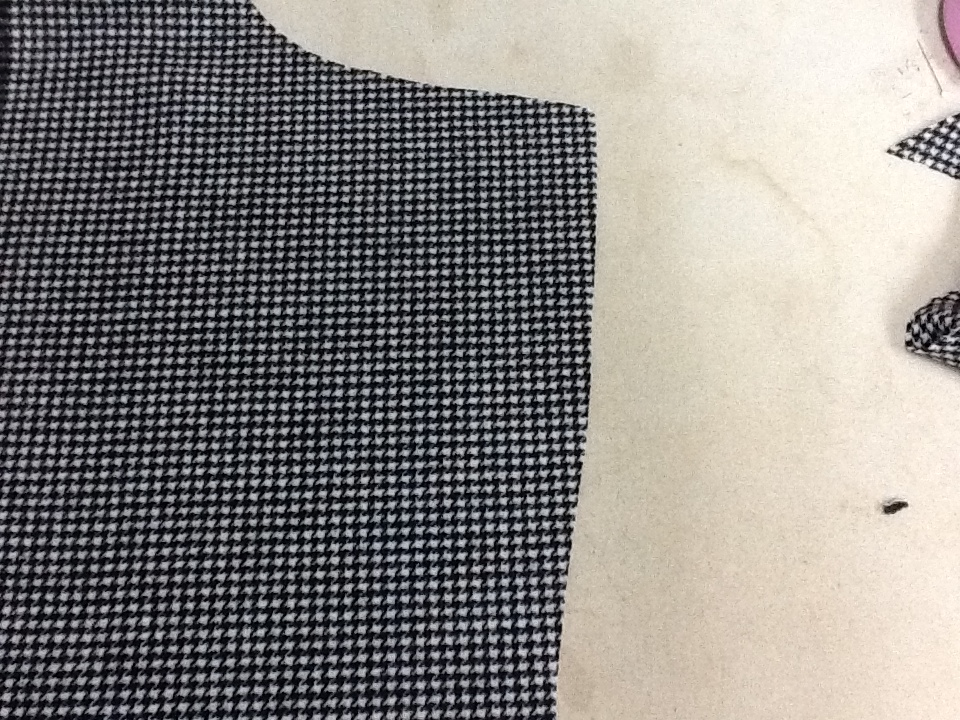
I’m working on Marfy 3182 and hope to have that post ready tomorrow. Here are a couple of preview shots.

