

I’ll give more info about changing the sleeve bands. This is a long, detailed post so skip to the end if you would just like to see the finished photos.
I decided I would like the sleeve trim to extend to the vent rather than just a band encircling the hem. I chose black silk peau de soie for the trim on this jacket. Peau de soie has a satin weave and is moderately stiff so it will provide the support necessary for the collar and cuffs. The silk version behaves much differently than polyester so be sure you are buying the real thing.

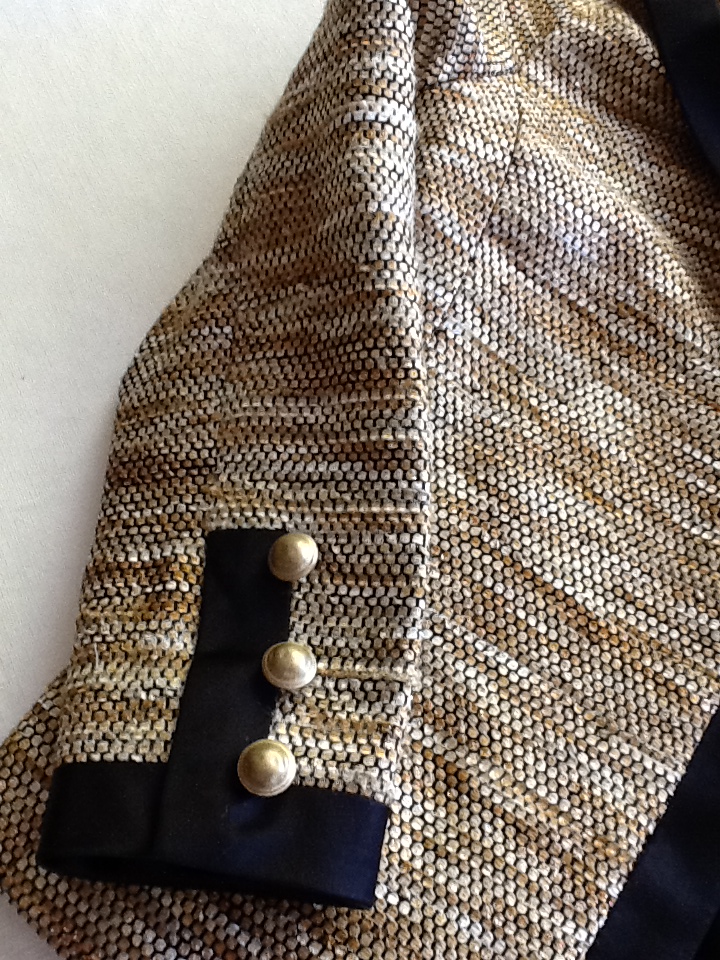
I made the trim slightly narrower than the Marfy pattern, decreasing the width from 1 and 3/8 to 1 and 1/8 inches. I also narrowed the trim bands around the neck and front to match. Not a big change but I felt it looked better. Here is the new pattern with circles for the buttons so I can visualize the finished look. I use paper towels or shop rags for this. They are flexible,cheap, can be written on, pressed and don’t tear easily.
Completed pattern and marking the peau de soie trim. Cut it on the true bias so it curves smoothly.


Next take your pattern back to the sleeves. You will sew the underarm seam first. It’s much easier to work on this before the sleeves are set into the jacket. Now mark exactly where the trim will be and staystitch on that line.

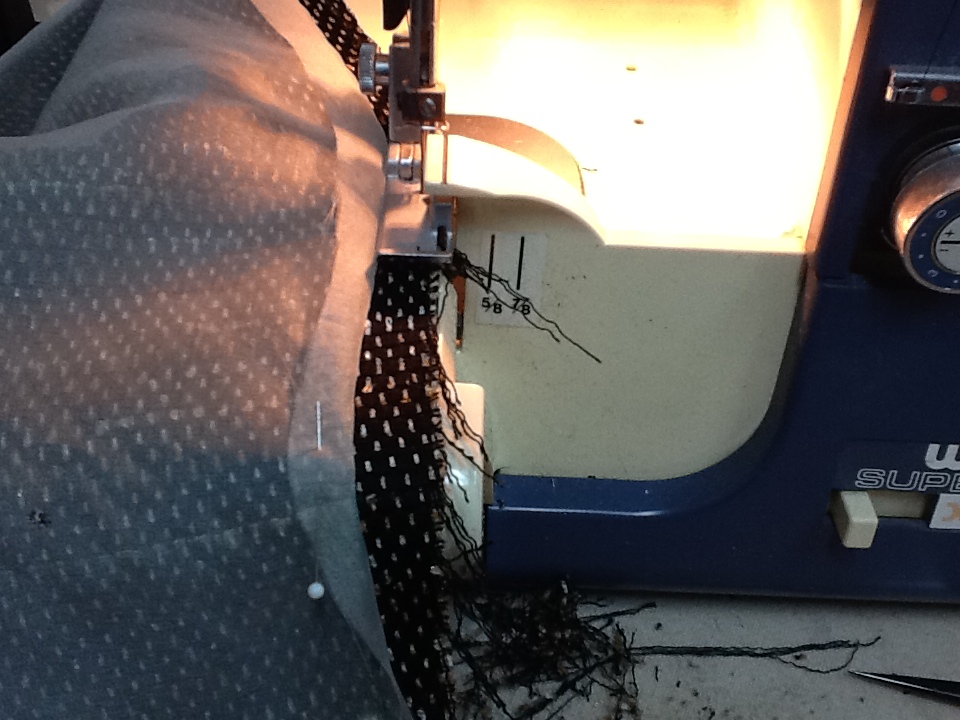
Just a quick note about my serged edges. Sergers are generally a BIG no-no in couture sewing. I do use one for certain things. This fabric was so loosely woven it ravelled like crazy and I’m not sure hand overcasting would have kept it together. I serge only the face fabric after basting to the underlining. This ensures the serging won’t distort the fabric. I use fine cotton embroidery thread, a three thread stitch and set to the longest length possible. This gives a very flexible fine edge and doesn’t destroy the drape of the fabric. Note how the underlining is turned back and I am only catching the outer layer.
Next staystitch the trim exactly on the stitching line. Stitch only the inner edge; I will double check the trim width after sewing it to the sleeve and readjust my seam lines if necessary to have an even width band.
Now carefully line up your seams and stitch the long edge of the trim to the sleeve. Don’t cross seams; leave long thread tails and tie them off. You might not think this would make a big difference but it really does. Seams will press much easier and the garment won’t be stiff, especially where multiple seams cross. Takes more time but it really is worth it.

Work your way around the trim, stitching each segment after lining up the seams. Make sure you cross the corners at a sharp angle to give a clean line to the finished trim.


Double check that your bottom edge seam is an even width all the way around and remark if necessary. Now you need to apply stay tape to that bottom edge (remember this is cut on the bias) so your hem doesn’t grow. There are commercial tapes and some books suggest using the selvages of silk organza but I have found this too stiff. Make your own by cutting bias strips of china silk. Pin one end down to your pressing surface and pull hard on the other end while hitting it with a good blast of steam. You will feel the fibers release and stretch. Pin the other end down and let it cool. Steam and stretch again to make sure you have stretched it as much as possible. Don’t unpin until it’s totally dry and cold! You will have the best stay tape that’s fine, flexible and won’t show through to the right side. I cut 1/2 inch strips and wind up with stay tape about 1/4 inch wide.

One more quick pressing note. I dislike using a spray bottle as it’s tough to control where all that water goes; not good if you’re working on silks. I use a cheap chip brush and brush water on top of my press cloth exactly where I want steam, then press dry without using steam. Much more control as to where you are putting steam. Then weight the seam (I’m using an old, heavy iron, not plugged in of course) and let it sit until cold. Amazing how much flatter you can get bulky fabric using this technique.


Now attach the facing to the lower edge. Notice how this is wider than the 1 and 1/8 on the right side. This gives me room to sew the sleeve lining high enough that it doesn’t peek out. Sew only the lower edge as I’ll show you how to turn the corner and get it perfectly sharp and straight.

Press the seam open and then turn all layers away from the right side.

Now fold the right sides together keeping all the seam allowances to the wrong side.

Stitch and press open using a point presser.
Some books tell you to trim the fabric at an angle but I’ve found I get much sharper corners if I don’t trim anything. Insert a point turner or I use a pair of blunt end scissors or not too pointy knitting needle and turn the corner. Carefully work the fabric over your instrument until the fabric forms a sharp corner. Work carefully as you don’t want to poke through.
If the fabric bunches up and won’t cooperate turn everything wrong side out and try again. Try placing your turning instrument next to the inside of the right side and turning the seam over.
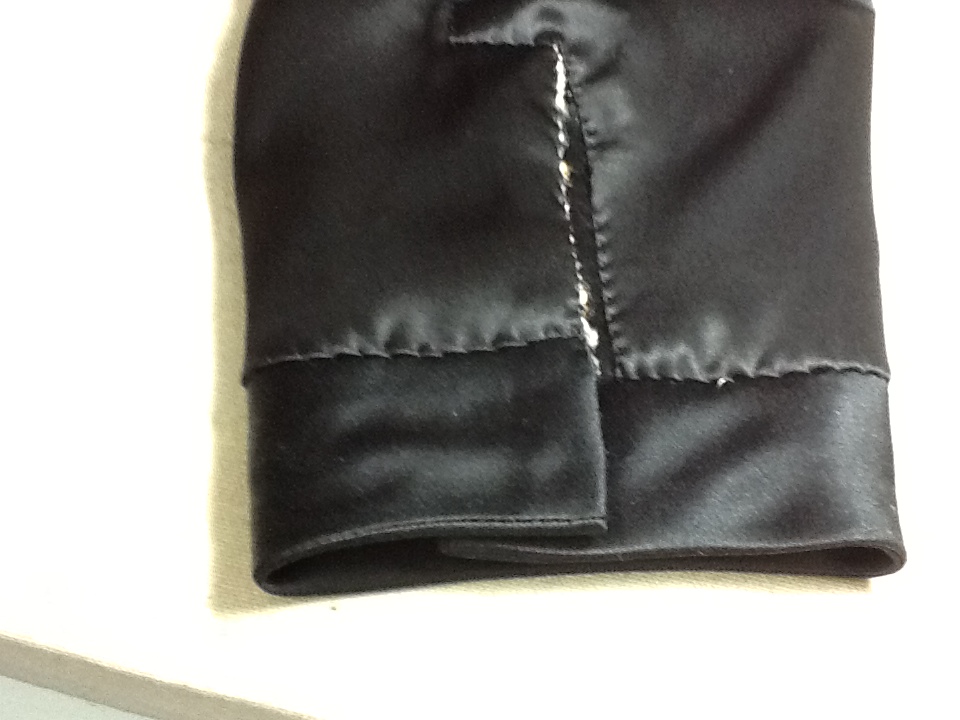
The completed sleeve:

This side was just off. Notice the stitching line at the top of the trim is slanted.

I do try and fix these little details. Maybe someone else woundn’t notice but I know it’s there and it would bug me. The top edge unpicked and restitched.
Photos of the finished work

Collar worn folded down or flipped up.

This pattern could also be made as a quilted unstructured jacket and I would make the following changes:
Eliminate the collar and trim
Raise the underarm an inch or so
Eliminate all facings and canvas interfacings
The front neckline might need to be raised/reshaped
Take at least an inch off the sleeve width.
Here is my test version in polar fleece and I think it will work out nicely as a quilted jacket.
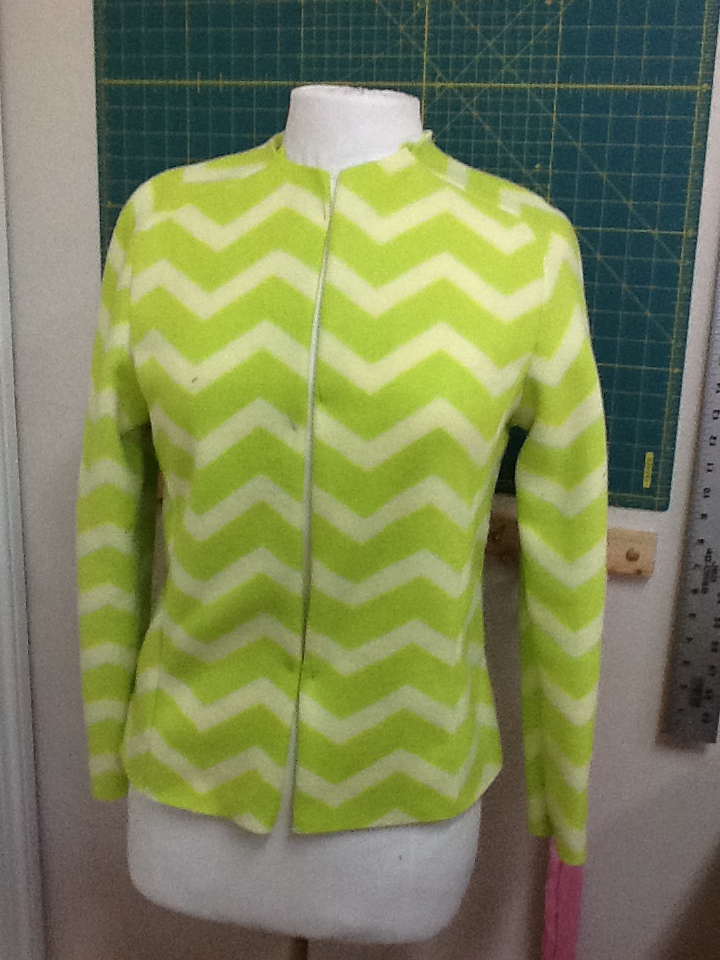
I liked the raglan sleeve lines on this and will try and get a quilted version started before too long.