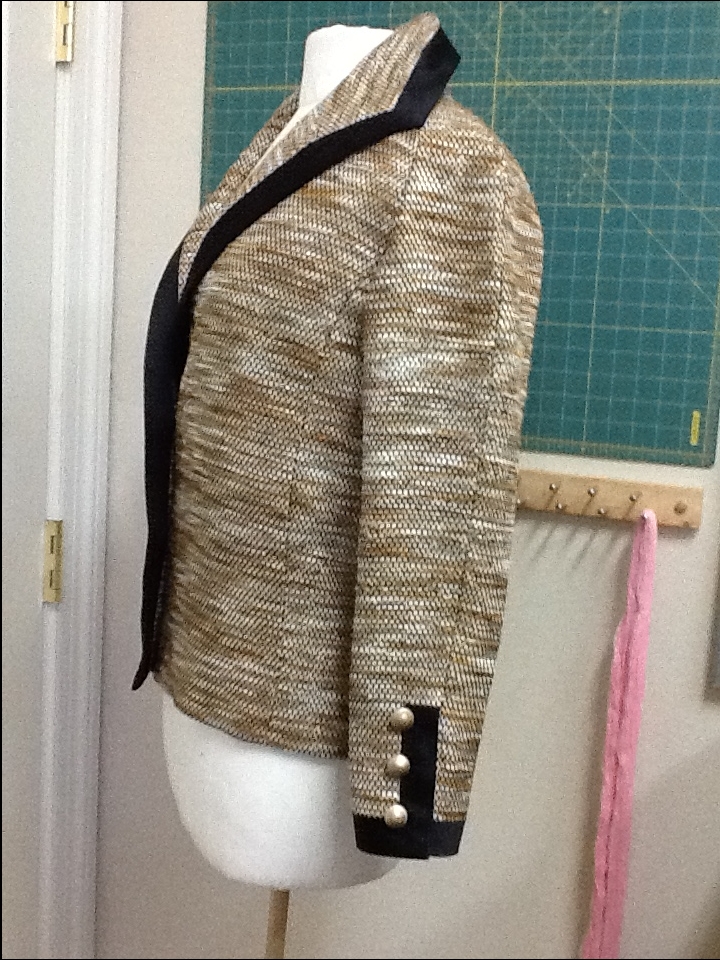
Site icon Cloning Couture

Marfy 3182 Finished

front viewIn December I was lucky to have an unexpected trip to Paris and PROMISED my husband if I could have an outing at Janssens & Janssens (probably one of the most spectacular fabric stores in the world) that the my purchases would NOT wind up as collectibles.  Marfy 3182 was an ideal design for this fabric so this post is also a review of the pattern.

Additional views:

Sorry for the blurry photo
Closeup of the fabric
Cuff detail

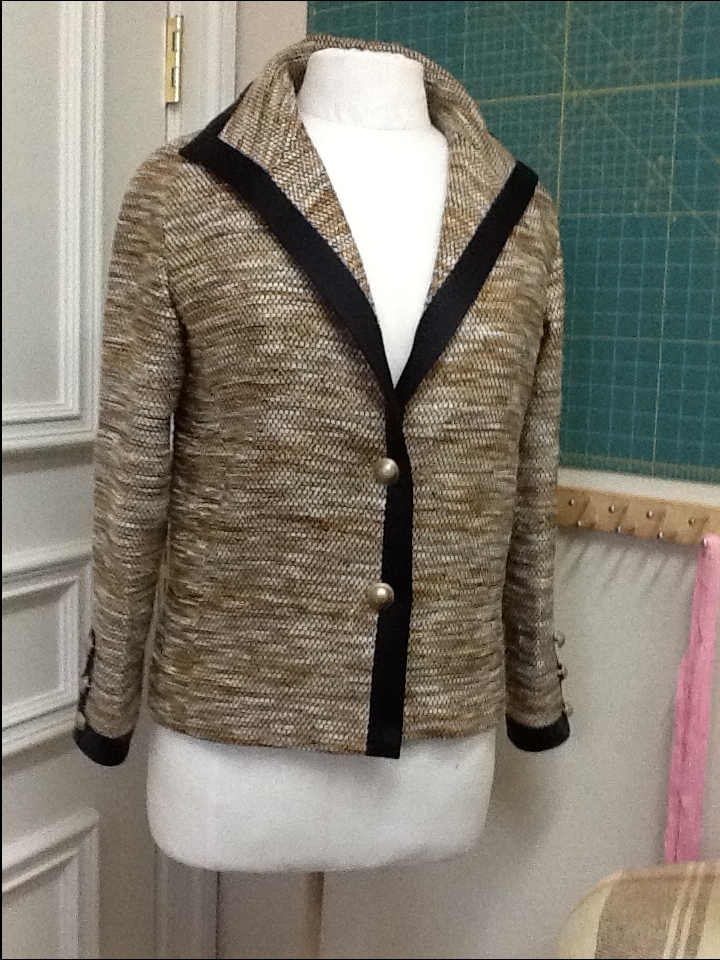
I made a few changes to the pattern, although Marfy styles don’t usually need much tweaking. The jacket IS boxy, as the illustration shows.

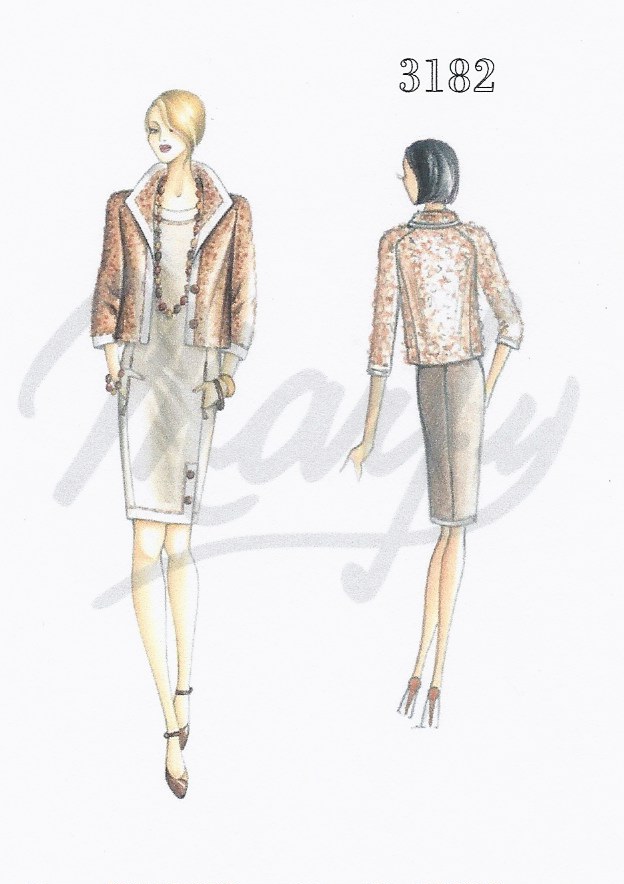
I chose to raise the front shoulder seam 3/4 inch at the front neck edge, tapering to nothing where it meets the armhole seam. The corresponding amout was removed from the sleeve.

Green thread shows the origonal pattern, red is the new line. I also removed an inch from the sleeve width. I underlined the jacket with washed silk organza which also provided a much needed layer to attach all the interfacing needed to support the lapels and collar.

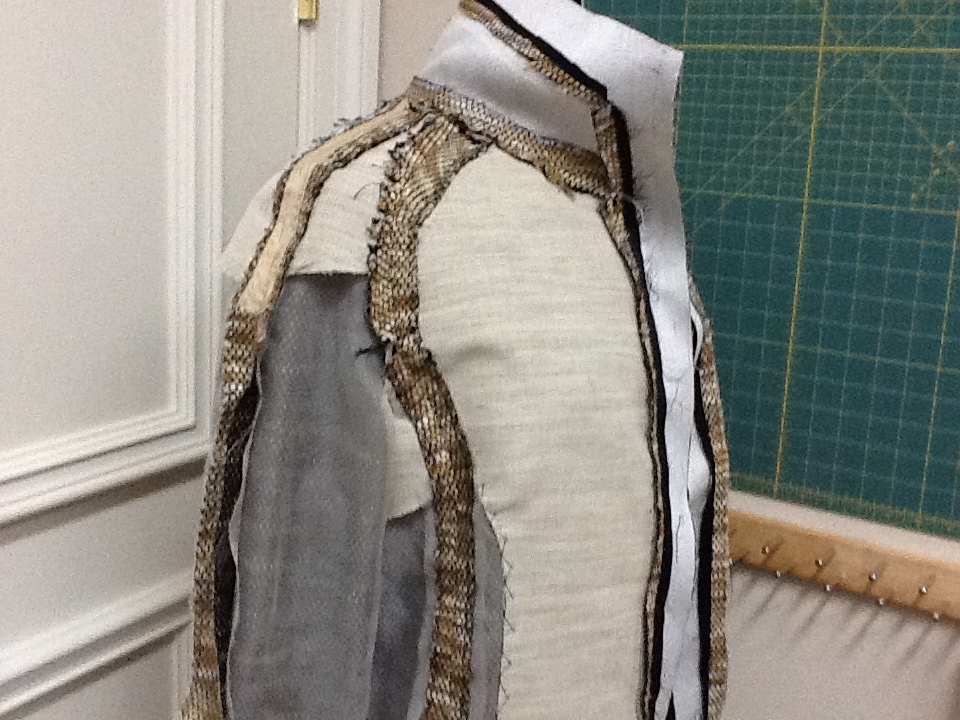
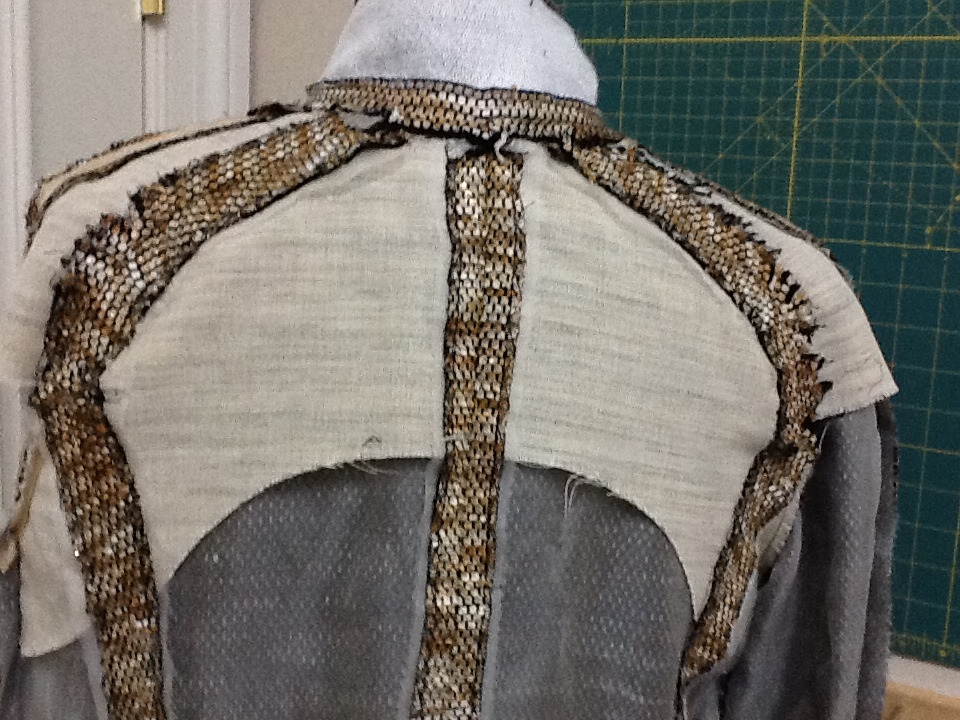
Hair canvas was inserted into the front, back, sleeves and underarm. Cut the canvas inside all stitching lines except the underarm seam; it is needed there to support the armhole. Catchstitch all interfacing to the silk organza underling being careful not to catch the face fabric. A back view of where the canvas is needed.

I also added a layer of heavy silk organza to the collar to provide support but not add weight. This was loosly pad stitched to the under collar.

I changed the sleeve banding shape and will detail that in the next post as it is somewhat involved for anyone who wants to try it. The pattern went together easily and all necessary match points were clearly marked. The banding requires precise measuring and stitching but it all fits together if you take your time and align everything first.

More details in the next post.

Exit mobile version