Tailoring

Vogue 1440 Finished

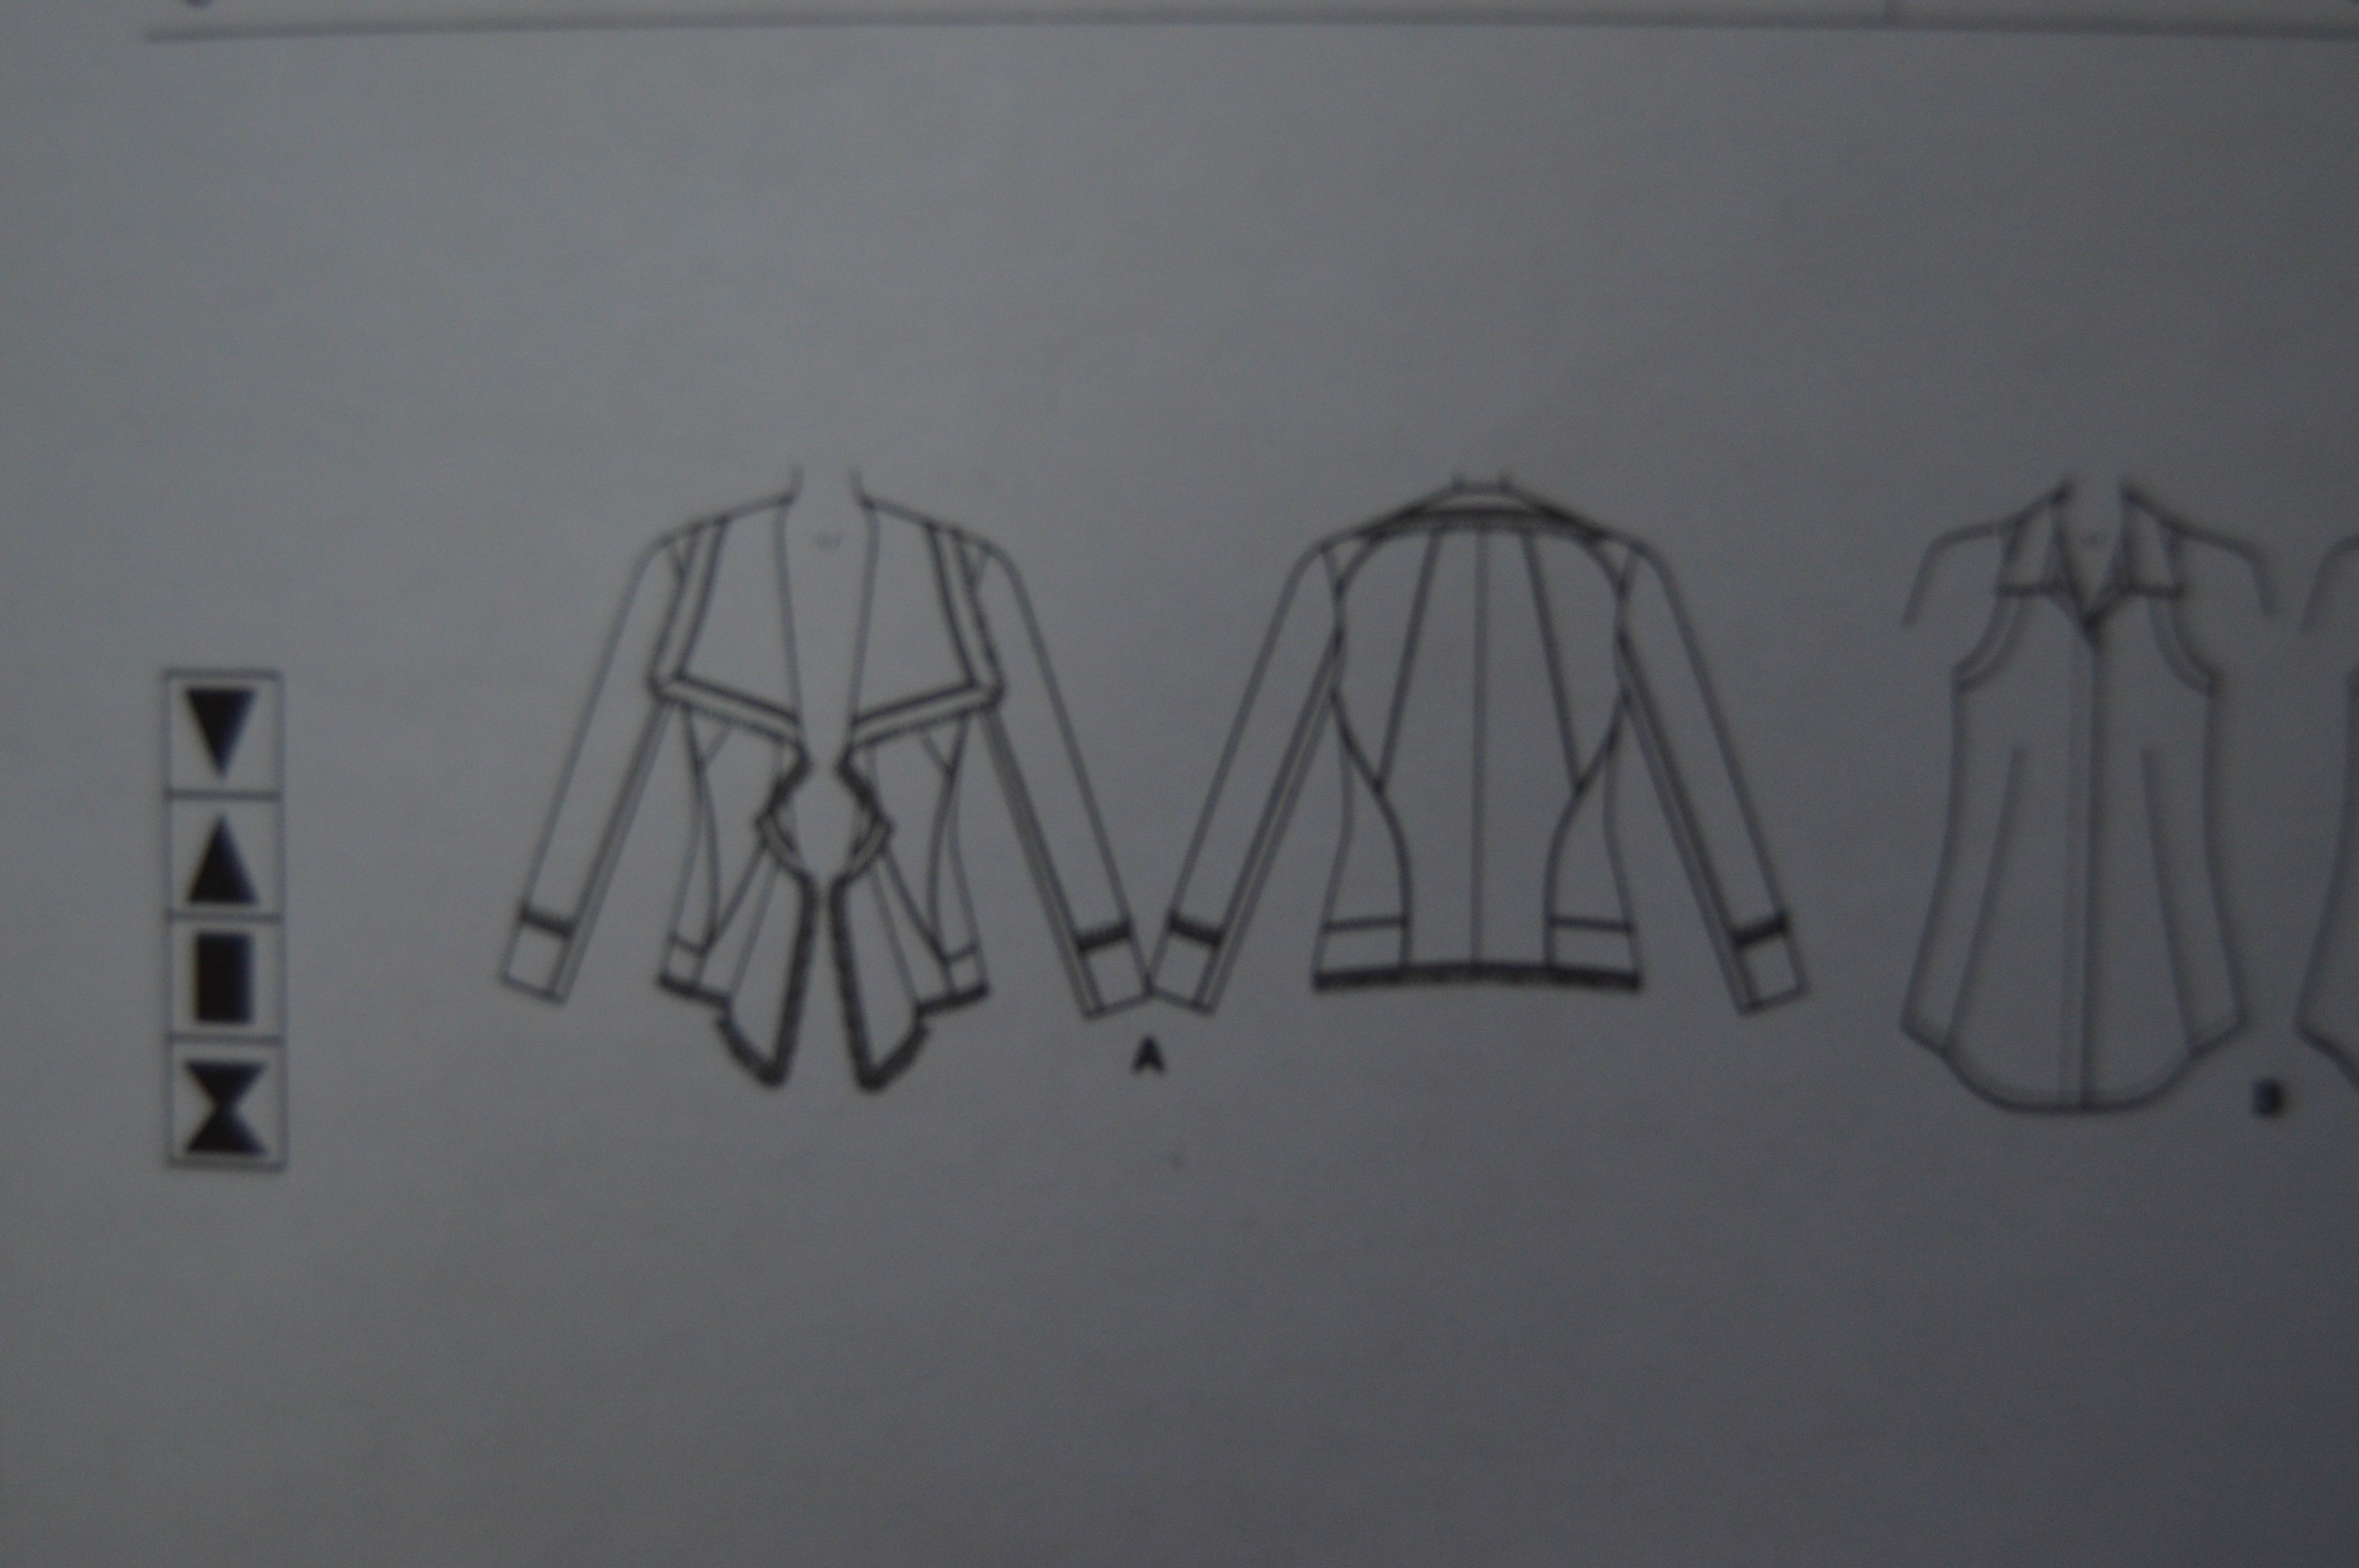
I hate having unfinished projects cluttering up the workspace, so before getting to work on the bridal gown, I needed to finish Vogue 1440.  I left off with a fitted shell but no sleeves. I have given up on the sleeve shape of most patterns and find I get much better results with my own draft.

DSC_0048
The cap has less ease in the back and more rounded at the front to accommodate the ball of the shoulder. I also raised the underarm and decreased the overall width.
Here is the muslin showing that most of the easing is in the front.
DSC_0051
I also shaved an inch and a half off the collar width
DSC_0056
The sleeve was stretched and steamed into shape.
DSC_0065
before setting the sleeve, snug the back of the armhole which creates a pocket for the shoulder blade.
DSC_0069
The collar back was too floppy and benefited from a felt collar stand. This was interfaced with hair canvas, pad stitched and applied to the collar back.
DSC_0070
To maintain the soft drape of the front I stay stitched 3/4 inch from the edge and fringed the cut edge.
DSC_0072
Most trims are far too stiff and would have destroyed the drape of the front section. Black chenille yarn was soft enough to apply to both front and back sides without altering the drape of the wool boucle. I chose to omit the seam piping. The boucle is underlined with silk organza and lined with silk crepe de chine.
DSC_0079
DSC_0077
DSC_0078

Wedding Gowns

Follow the Birth of a Custom Wedding Gown

I have an exciting project in the works and finally have enough pics to share it. I’m creating a gown for a July wedding and will be posting the progress, both as a record for myself as well as a memento for the bride.

The focal point of this gown is absolutely spectacular handmade Point de Venise lace which has spent the last couple of months in Connecticut being cleaned. Hard to believe this lace was created with a single needle and sewn entirely by hand. We were told by the restorers that the lace was likely made during the 1820’s!DSC_0572
Closeup of the detail
DSC_0575
There are two matching pieces. One is rectangular with a scalloped border and the other this shape.
DSC_0576
The dress will be a simple strapless gown with train which will be bustled up for the reception. The lace will be a separate top hemmed at the midriff with short sleeves. Buttons covered with dress fabric will close the top at center back. The fitting muslin with lace draped to approximate the top.
DSC_0578
A gown with no embellishment calls for luxury fabrics. I met the bride and her mom at B&J Fabrics in NYC and set up a work station at one of the long tables overlooking 7th Ave. The window provided loads of natural light for color matching. Antique lace is never white and and we needed a LARGE selection of fabrics to choose from. The staff at B&J were incredibly helpful, pulling roll after roll of various shades of ivories. We finally decided on a wonderfully drapey 4 ply ivory silk crepe which will be underlined with white double faced silk charmeuse. The white underlining brightened up the ivory just enough to compliment the lace.
Fabrics 1
The lace will be backed with ivory silk tulle which will provide just enough stability for it to hold its shape nicely. The same silk tulle will be used for a short veil.
Fabrics 2
Veil 2
The first step is now to create the gown’s under structure of a boned corset and attached petticoat. I’ll tackle that in the next installment.

Tailoring

Vogue V1440: Tweaking the Fit

DSC_0046
I came across this Donna Karan Vogue pattern. The jacket looked like a fun, easy to wear, garment. I also loved the interesting style lines and curved seaming.
DSC_0047
First a word about size selection. I’ve found that it works much better to select your pattern size by your high bust measurement, NOT the full bust. I measure 32″ high bust and 34″ full bust. That would mean I should cut a size 12. Size 12’s are ridiculously huge on me. The neckline gaps open and the shoulders are HUGE. I go down two sizes and cut a size 8, which is 31.5 bust. That fits me much better in the neck, armholes, and shoulders, areas which are much more difficult to alter than side seams. I’ve found that the high bust is a truer measure of your bone structure and will give a better fit. You may need to alter for a full bust and/or fat tissue, but those changes are easier than the neck/shoulder areas.
Here is my first muslin, cut exactly according to the pattern. It’s shown on my form which is an exact duplicate of my shape.
DSC_0033
Here’s the back view.
DSC_0032
There is a huge amount of ease at the underarm along the side seam. In order for the side seams to match up the front piece needs to flare out away from the body. Not the look I’m after.
DSC_0029

The side seam also flares out at the hem much more than I would like. The pattern line drawing looks to me like a fairly slim fitting jacket. I have a long torso and the waist also needs to be lengthened by 1 and 3/8 inches.
Here’s a view of the original on the left side and the altered version on the right side.
DSC_0034
DSC_0036

Changes to the pattern. The red lines are the new seam lines. I’ve raised the underarm and reshaped the armseye. I’ve also removed fabric from the collar at both the neck and front edge.
DSC_0035
Style tape makes it easier to redraw this seam line. The triangle shaped section has excess pinned out which will be removed in the redraft. I’ve repositioned the bust dart for a smoother fit.
DSC_0028
The altered flat pattern.
DSC_0039
Most of the alterations are along the side seam and armhole. One major change is to reposition the grain line on the triangular shaped piece. I wanted more waist shaping but didn’t want to add additional seam lines to already busy lines. I placed the bottom and back edges of the triangular piece on an almost true bias and the front edge was slightly off grain. Stretch the bottom and back edges while steam ironing.
DSC_0044
How it now conforms to the body curves and shapes the waist better.
DSC_0045
The curved edge along the jacket front will also be steam stretched to hug the body.
The collar and front piece is basically a curved ruffle. Take a tip from Roberta Carr  (her book: Couture:The Art of Fine Sewing)  and do not clip this seam until after it’s sewn and then clip at precise intervals to control the ruffles.
DSC_0042
If you try this pattern pay attention to the fabric choice. A softly draping tweed or loose weave will work best. Anyone else tried this design?