couture sewing, Evening Wear

Runway Dress, Part 2

Now that you have yards of assorted strips you are ready to start attaching them to the tulle under-dress. Only the right side seam of the dress has been sewn, so lay it out flat. Decide how long the finished dress is and mark a hemline 10 inches above the finished length. I used the polyester organza and cut a strip 21 inches wide and the hemline width plus 1 inch. Fold this wide strip right sides together and sew 1/2 inch seams along the short sides. Turn right side out and press only the seams; leave the bottom edge as a soft roll. Polyester organza doesn’t want to press flat, so the fabric will help to maintain this rolled edge look. Sew the strip on the line you have marked, establishing the finished length of the dress.

Now work your way up placing the strips as you like using the photograph as a guide. I hand sewed them in place as I feel that hand stitches make a softer, more fluid garment. You can also machine sew. The ultrasuede was difficult to hand sew, so I used the machine for those strips.ImageImageImage

Stop at the waist. Decide the shape of the neckline and the placement of the uppermost strips. I used a double layer of the polyester organza, stay stitched the neckline and armholes. Then hand rolled the edges catching only the undermost layer of fabric.ImageImage

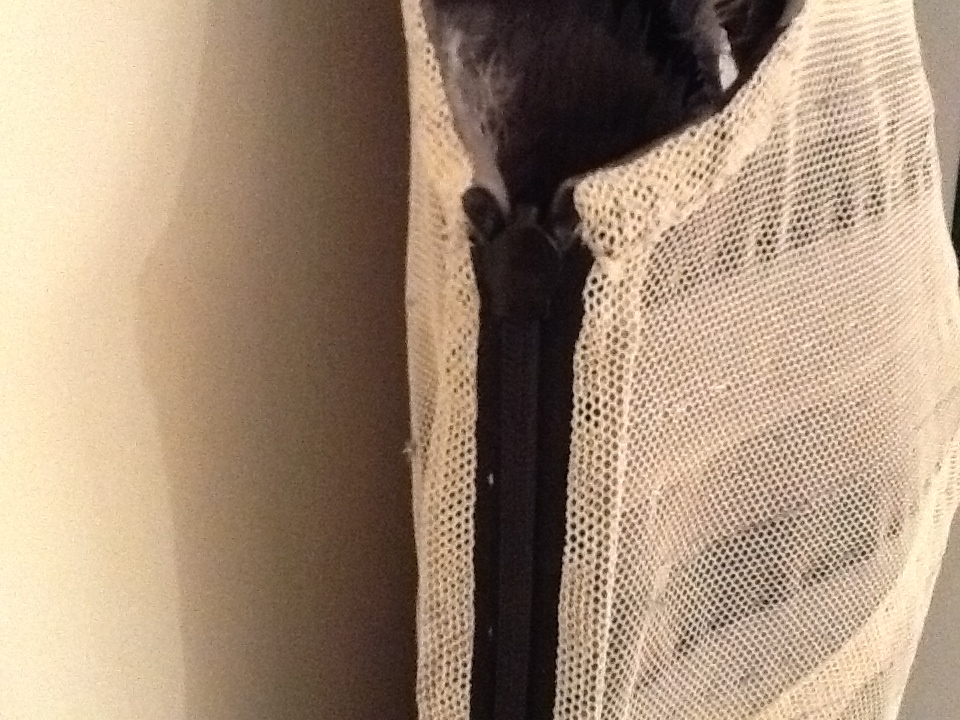
Work your way down to the waist in the same manner. I found hand sewing the bust area much easier to control than machine sewing. Stop when you reach the waist. Sew a length of satin ribbon to cover the raw edges at the waist. Sew the left side sean inserting an invisible zipper. I also left a slit from the hem to mid-thigh.
Image

ImageImage


Views of the inside showing rows of hand stitching.Image

Image

The finished work

ImageImage


couture sewing, Evening Wear

Chanel Runway Dress; Easier Than You Think

Chanel gownI noticed this dress from a recent Chanel runway show and set out to copy it. Two photos showing the original dress.Chanel gown detail
I started with a simple sheath dress such as this McCalls pattern but you could use anything similar.012
If you aren’t sure how it will fit make a test dress in muslin. It needs to be slim fitting but not skin tight. Make sure to peg the skirt. That means taper the side seams below the hip line. You want the hem narrower than the hips; that makes for a more slimming line.
Cut the dress from a sheer, flexible fabric. I used cotton tulle in a nude color. You could also use silk organza but I find the tulle works best. Nylon tulle is NOT the same thing. Cotton tulle can be difficult to find locally but most better shops in cities carry it. I use Mood, B & J and others and they do mail order.
Sew the darts and the right side seam with the wrong side out. That means your darts and seam will be facing out like a lining. Leave the shoulders and left seam open for now. It will make placing the trim strips much easier.
Now for the fringed strips. I bought 2 yards each of light, medium and dark gray silk organza. I also got 2.5 yards of both medium and dark sparkle POLYESTER organza. You will be cutting some of the trim with a soldering iron and silk can’t be cut with a heat tool; it will just burn. Very important to get 100% polyester.
Working with one color of silk at a time, cut 4 to 5 inch wide BIAS strips from the yardage. You will wind up with yards and yards of bias strips. I recommend cutting some test strips from a corner before you cut the entire yardage to test the width. Make the strips wider or narrower if you need.
Press your bias strips in half the long way so now you have narrow double layer strips. Take a stiff brush and fray the cut edges. I placed a piece of canvas on my pressing surface and brushed away. The brush will damage your ironing board cover, so please use something to protect it. I found canvas better than a smooth, slippery surface as the silk didn’t slip around. I used a brass scrub brush.006

Next work on the polyester trim. Cut several bias strips from each color of the poly organza. I made mine about 3 inches wide. Don’t cut the entire yardage as you will need some for the large strip at the hem and also for the top of the dress.
You will need a heat tool to cut the wavy edge so it doesn’t fray. Cutting with scissors will leave a raw edge and that won’t last long. The heat tool will sear the edges and prevent fraying. I used an inexpensive soldering iron from Radio Shack. Make sure yours has a pointed tip.
You will also need a piece of plate glass. I used a scrap from an old window and wrapped the edges with duct tape to prevent injury. Draw some wavy lines on a piece of paper. When you are happy with the design place the paper under the glass so you can see your design. You can also cut freehand, but having the pattern to follow was easier for me.
Heat up your tool and place a strip of organza with one edge along your drawn line. The fabric is on top of the glass and can now be cut with the soldering iron. Make sure you work with one layer at a time as multiple layers will be melted together. Practice this a few times on scraps before starting. You need to cut slow enough to allow the heat to cut through the fabric but fast enough to prevent melting and holes.009010
Last is the fringed strips. I used lightweight charcoal Ultrasuede and cut 1.5 to 2.5 inch wide strips on the crossgrain. Ultrasuede is most flexible that direction and you also will need only about 1/2 yard; nice since it’s not inexpensive.
Chalk a line about 1/2 inch in from one long edge, turn on a movie and get comfortable. Arm yourself with the sharpest scissors you can find and cut fringe. The chalk line is a guide of how deep to cut and I just eyeballed about 1/8 inch for the width.
008005
Next post will be how to start putting everything together. Let me know if anything is unclear. This is not a quick and easy project but do-able if you take it slow and focus on one step at a time. No wonder the price tag is astronomical at Chanel!

couture sewing

Dolce and Gabanna Lace Dress

Dress is cotton lace underlined with cotton tulle. The roses were embroidered on fine weave black wool crepe, cut out, and then appliqued onto the dress. The hem and left sleeve were finished with additional lace applique. I was unable to find suitable lace for this, so motifs of free standing lace were embroidered with matching cotton thread and applied to the hems of the dress and sleeve. The neck and right sleeve were finished with piping made from the straight eyelash lace edge wrapped around mousetail cording. A black silk 2013-03-25 09.53.06

2013-03-25 09.53.29

2013-03-25 09.53.15

2013-03-25 09.53.23crepe de chine lining finishes the dress, acts as a slip, and provides contrast to accent the lace pattern.

couture sewing, Tailoring

Chanel Inspired Tweed Jacket

Chanel inspired jacket was made of soft Italian wool tweed. The pattern is my own design and it was constructed using couture hand techniques. The sleeve vents were faced with bias cut facings, applied with 3/4″ extending past the finished edge. The bias edge was then frayed and trimmed to an even width of about 3/8″. Sleeve vents are functional with hand stranded buttonholes worked with silk twist.

In order to maintain the lightness found in couture, the lapel and collar facings were also cut as bias strips and shaped with steam to the proper curve. The bottom front edge of the jacket facing was shaped with two darts as necessary to curve around the lower egde. By cutting the fringe as a single layer and fraying the edge, bulk was eliminated. I tested inserting a bias strip into the seam but found it produced an edge too bulky and stiff for my desired finished effect.

The fringed edges of the pocket flaps were made from bias strips sewn along the edges, frayed, then trimmed to an even width of 3/8″. Pocket flap linings are hand felled to the wrong side and all raw edges are turned under and fell stitched. The pockets and flaps are hand applied. The lining is also hand sewn into the completed jacket.

While time comsuming, this project produced a jacket that is very lightweight and comfortable. It moves with the body and feels wonderful.
2013-09-26 17.27.50

2013-09-26 17.31.25

2013-09-26 17.32.01

2013-09-26 17.32.44

2013-09-26 17.29.50

2013-09-26 17.28.52

2013-09-26 17.28.27

Completed Jacket
Completed Jacket