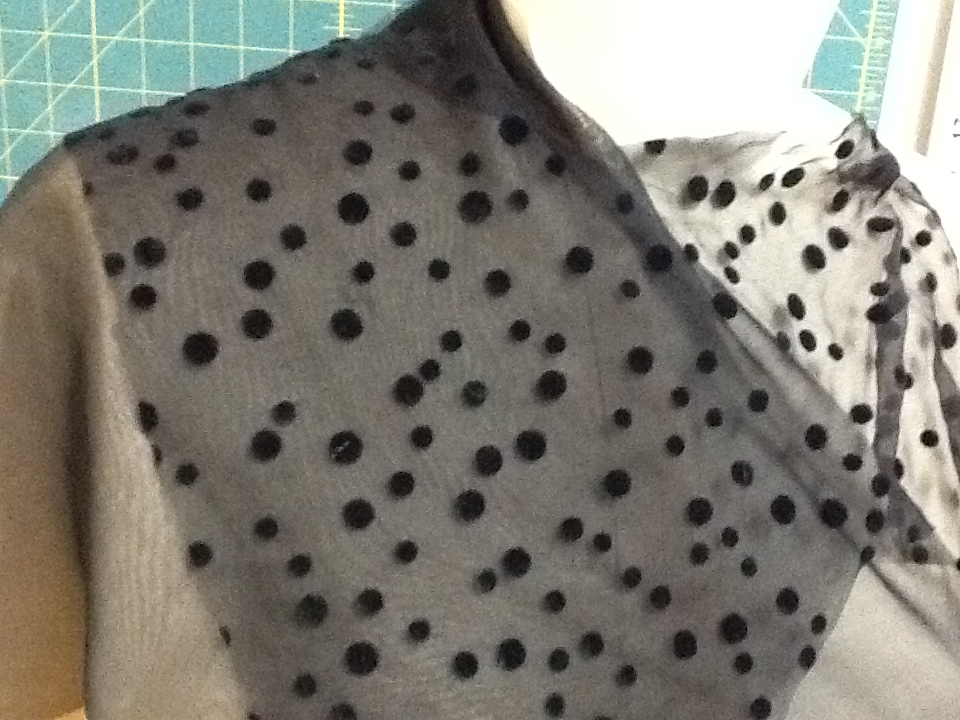
This strapless cocktail dress presented some interesting construction and layout techniques unique to lace. The hem is lower in the back and so the usual way of laying out a skirt with the hem following the finished lace edge doesn’t work here. Also the neckline is edged with a scalloped border. The right and left sides are mirror imaged. Picky details but never seen outside of couture workmanship.
I start a project like this by studying the lace pattern carefully and noting where and how the motifs repeat. This lace is a fine French Chantilly with a double galloon edge, meaning there are scallops on both edges.

The lace is laid out with a scalloped edge running the length of my long cutting table. This shows the pattern repeating vertically every 11 inches. Note the top of the swirl at the end of the ruler and again at the 11 inch mark. Also notice that the same swirl is reversed at 5.5 inches. If you’ve ever worked with upholstery/drapery fabrics you’re familiar with the term “half drop match.” The pattern repeats in some form halfway between the full match.
Probably the easiest way to illustrate the entire dress layout is this:

Starting with the corrected toile, position the front piece at the far right hand edge with the hem along the scalloped edge. You will have already determined the finished length. I also trimmed the scalloped edge along the entire length, cutting around the motifs. Since back hem was longer than the front, the other pattern sections were moved upwards a full pattern repeat. The waistline was used as a reference point and was also positioned parallel to the lower edge. Now for the interesting part.
At the half drop line (halfway between pattern repeats) the pattern mirror imaged. On this diagram I’ve illustrated this with red C’s. Notice how the C’s flip. The easiest way to get perfect matching is to cut the left (or right side) first, flip the lace piece and lay it down matching the pattern motifs.

Perfectly mirrored back sections.

My muslin toile is folded or cut along the seam line, so matching is easy. I fold the seam allowances under and check that the seam doesn’t fall along an unwanted pattern placement. Here I will shift the piece over to avoid a prominent double “fern leaf like pattern” along the seam line.

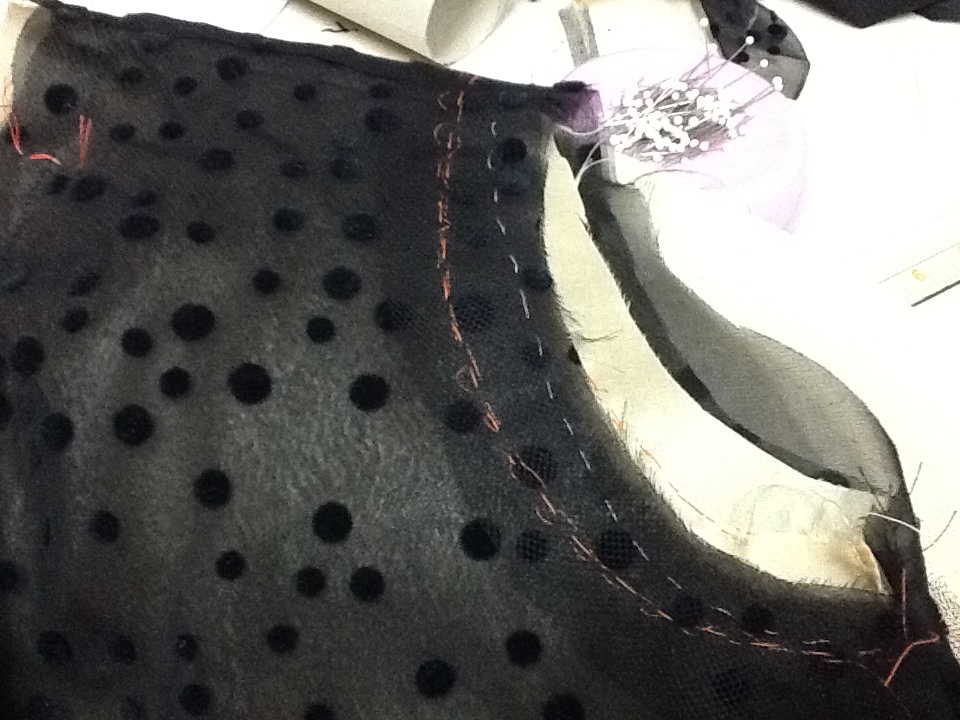
The dress is constructed of silk crepe de chine with silk organza underlining. The lace is backed with a layer of silk tulle. That means the dress has four layers: Chantilly lace, silk tulle, crepe de chine and silk organza. They are basted together, seams lines thread traced, and then treated as one layer. I frequently use silk tulle as backing for lace. It’s wonderful to work with and almost adheres itself to the lace. I think it softens the contrast between the lace and silk underlayers.

Silk tulle comes in black, white and ivory but I’ve successfully dyed it when needed. Nylon tulle is NOT the same. Unlike silk tulle, the nylon version fights you all the way. It doesn’t behave and insists on doing its own thing.
Some advocate using silk organza as backing for lace, but I find it too opaque and doesn’t produce the effect I want. Here is the Chantilly lace with no underlay, silk tulle, and organza.


Try different materials under your lace and see which produces the effect you like.
Sew major seams through all layers. I hem the crepe de chine/organza layer before finishing the seams. Working with only the lace layer, hand applique the hem border following the motifs. I found silk thread blended in best.
Lace for hem edge trimmed along motifs:


Trim away the excess lace underneath the appliqued edge and tack it to the silk tulle.

The neckline trim is done the same way except trim closer to the scallops so the trim is narrower and follows the shaped edge easier.

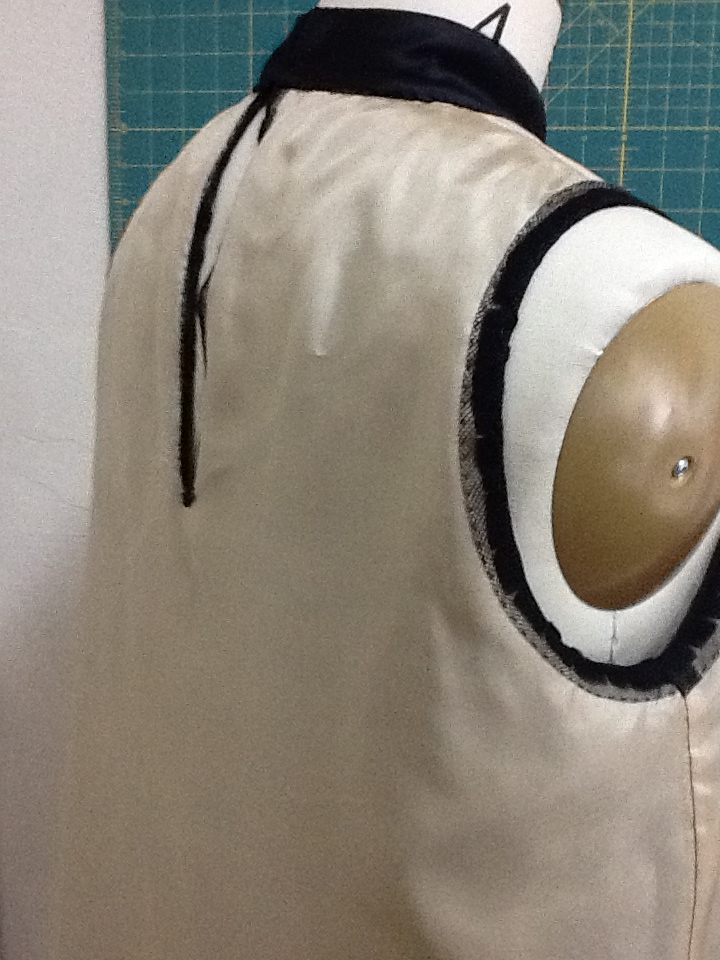
The lining is the same crepe de chine. I fused a high quality weft interfacing to the hip line and added boning for support. This will be worn over a foundation garment, so heavy boning wasn’t needed. A ribbon waistband keeps the dress in place and prevents it from slipping down.


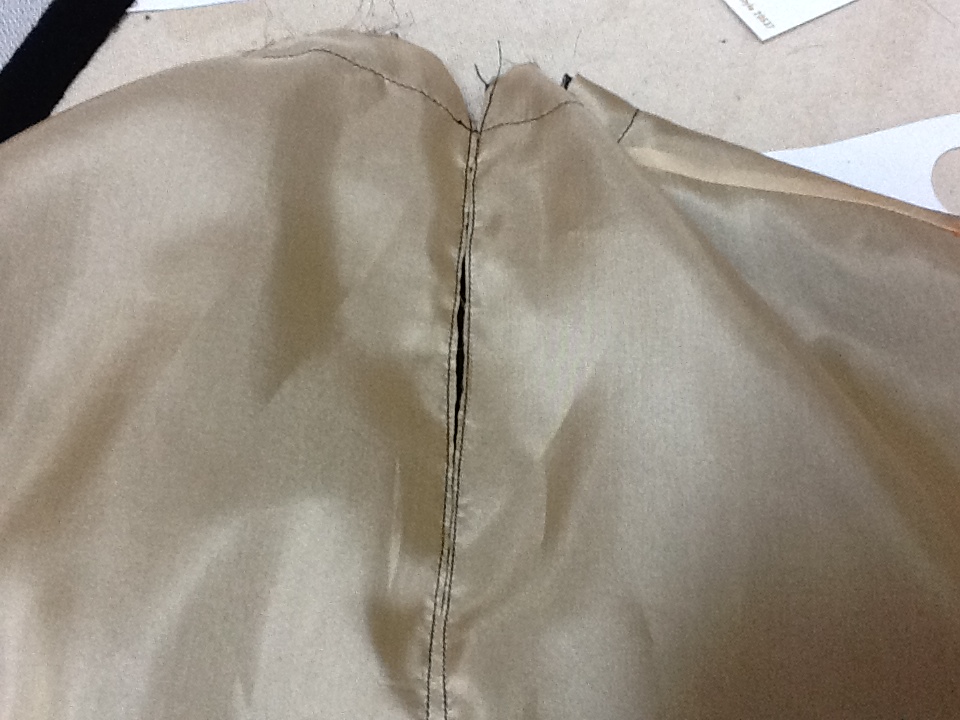
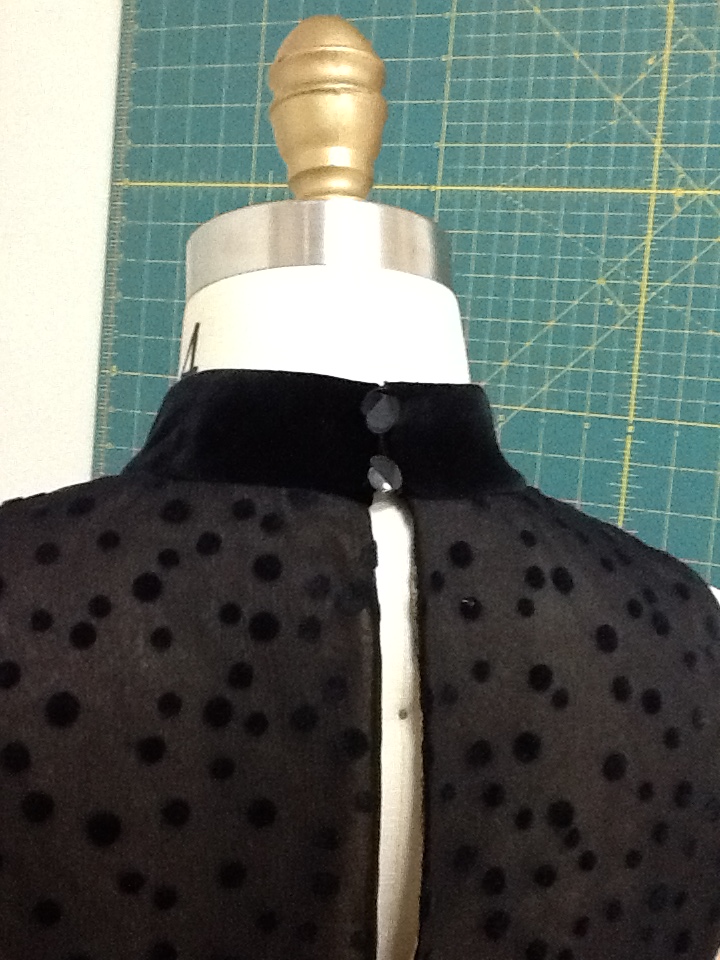
Perfectly matched seam with invisible zip.

If you noticed at the beginning of this post, the photo of the front neck shows the center front as about 3/8 inch off center. This was done to correct for one hip being lower than the other. The toile had a definite right and left side. The pattern pieces are shaped differently but the garment looks symmetrical when worn. The dress form was wearing bust pads and a spandex tank; explains the strange undergarments.