Drafting Patterns

Back in My Sewing Room

Hard to believe that it’s been two months since my last post. November and December were packed with travel, holidays and family. After four solid weeks of house guests and entertaining, hubby and I escaped to the west coast for a golfing holiday. Palm Springs was the starting point as we worked our way north along the Pacific coast highway.
highway

Pebble Beach was spectacular but neither of our golf games warrant the fees there so we satisfied ourselves with pics from the 18th green.

Pebble Beach
We did play several spectacular courses along the way, including two which had hosted PGA tournaments. Sand everywhere!
golf course
Last year I joined Goodbye Valentino’s Ready-to-Wear Fast and did so again for this year so that meant no buying clothes for the trip. I needed warm, lightweight and breathable golf tops. I had a stash of merino wool knit fabrics; perfect and had the added bonus of being washable.

The pattern is my knit top block from Suzy Furrer’s Craftsy course.

top body block&amp

My obsession with sleeve fitting resulted in this draft, taken mostly from European Cut by Elizabeth Allemong.

sleeve block
Notice the shape of the sleeve cap and the position of the shoulder.
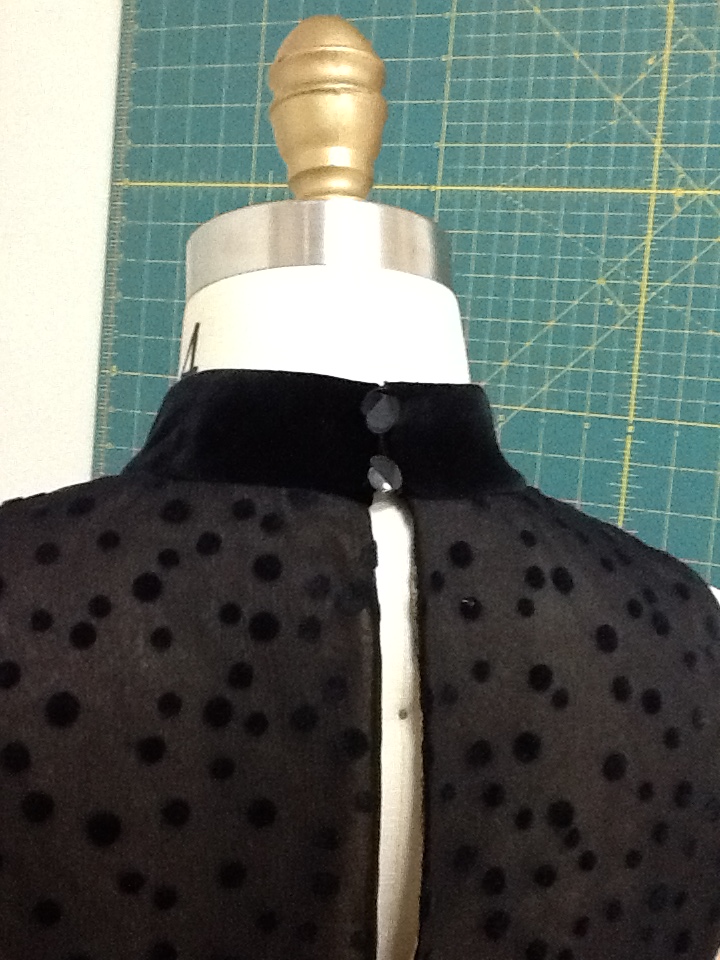
How to add couture touches to a simple zip top: match stripes at the side and armseye seams.
add a zipper guard which covers the zipper teeth at the neck
add a mock turtleneck
striped top
Serged seams were too bulky and anti-couture. I did serge the cut edges with Gutermann Skala 360, a super super fine thread which adds no bulk. My serger was set for a narrow three thread stitch. Seams were sewn ina regular sewing machine using a zig-zag stitch about 0.3 mm wide and 2.3 mm long. This very slight zig-zag adds stretchability to the seam. Press open. The sleeve and bottom hems were serged along the cut edges and hand hemmed.
striped top seams
For chilly California evenings, I was intrigued by the wrap designed by Julie of Jet Set Sewing. Look for the December 29 post. I had some off white sheer wool knit and made two versions of her design.

One short one:

short shrug

And a longer version with an asymmetrical hem. The hem idea came from one of the sweaters Julie photographed in a Paris window.
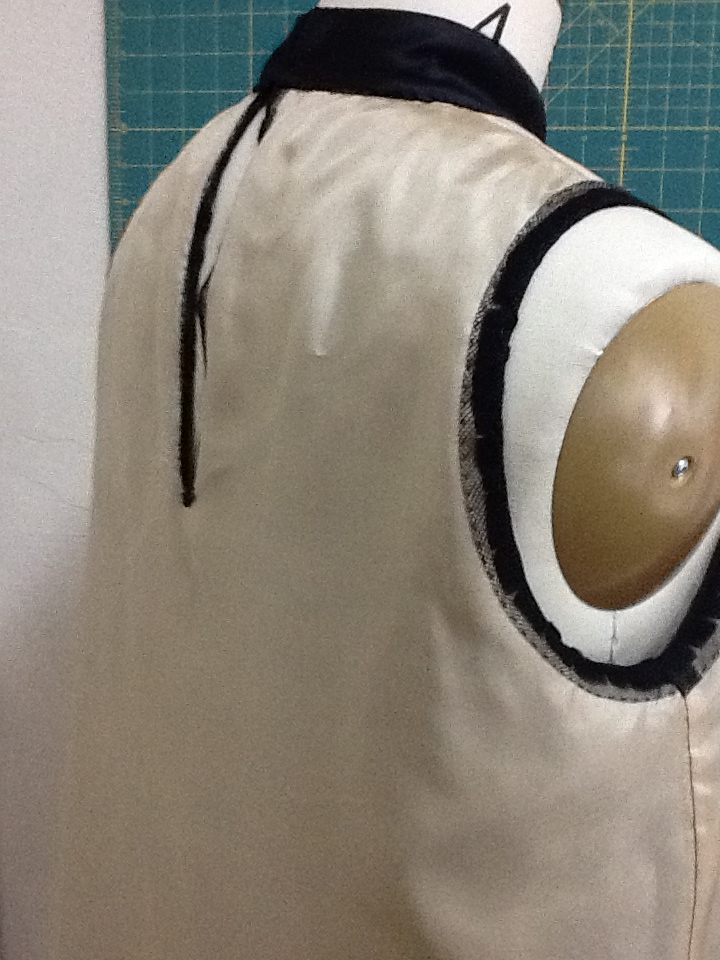
Front view
Side view:
Side view
Very simple pattern. I made mine 16 inches wide at the neck and 25 inches wide at the bottom. Cut two layers, one front and one back.  The short version is 19 inches long, the long version 29 inches before hem shaping.
Pattern
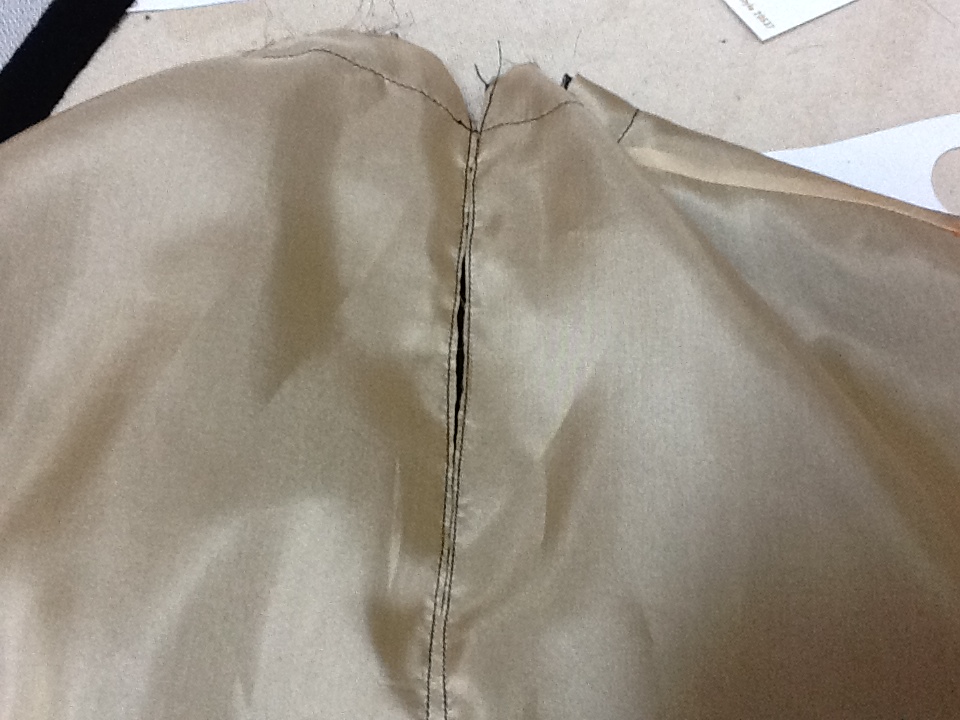
Sew the side seams using a narrow zig-zag stitch. I used 5/8 inch seams, pressed open, turned under edges and slipstitched for a totally finished seam on the wrong side.
Seams
The knit rolled naturally to the right side along the top and bottom edges. Stretch the knit gently and it will roll. I tacked in place lightly.
Shaping the hem for the longer version. Fold in half with the side seams together. The center front and back will be at the fold lines. I pinned a length of narrow elastic as a guide before cutting. Be sure to flatten out the curve at the center front and back unless you want points.
Hem line
Enjoy. I’m happy to be back.

French Jackets

French Jacket; The Beginning

Now that my body double dress form and three piece sleeve research are complete it’s time to try them in action.

This is from my stash, probably purchased at B&J Fabrics several years ago. Now seems like a good time to get it made.  Another hallmark of couture construction is the shaping of garment sections with steam before any sewing takes place.  “Vintage Couture Tailoring” by Thomas von Nordheim has probably the best diagrams of how to shape jacket and sleeve sections.  Claire Shaeffer’s videos also explain the process well.

If you haven’t seen it, the video “Secret World of Haute Couture” is a great watch. It’s about 45 minutes and interviews some of the purchasers of haute couture garments. Although these ladies don’t sew they do understand and appreciate what haute is and how it feels. About 10 minutes into the film, one of the ladies who worked in haute couture for years explains, “You don’t just cut the fabric and sew it; you work the fabric. It is shaped with special irons so that when you roll it up, pack it, etc it still looks perfect.”  The importance of prefect fit is also stressed; “the clothing fits like a second skin; feels like you are wearing nothing at all.”

I used Vogue 8891 as a starting point. I reshaped the front princess seam so it would be easier to shape a rectangular piece of fabric into the proper shape.

P1000094
Trace the grain line about one inch from the fabric edge. Place your muslin pattern (no seam allowances) on top.
P1000095
Smooth the fabric so the grain line follows the pattern shape. You will notice ripples form; these need to be steamed out so the fabric is now shaped like the pattern.
P1000096
The same process needs to be done on the back sections.
P1000098
l
And all sleeve sections are steamed to further build in the shape.
P1000133
Although Claire’s pattern instructions don’t specify this type of shaping, notice that what was a curved quilt line now tends to follow the grain of the shaped garment sections. I spaced my quilting lines about 1 and 1/4 inch apart and followed the lengthwise grain on each section. After quilting I like to roll the raw edges of my lining sections under; it just keeps things neater.
P1000108
I cut the sleeves after completing and fitting the jacket body. Pins show match points. Most boucles do have a subtle pattern, so look carefully if you think yours doesn’t.
P1000134
Almost completed. Here is the jacket front and back. Notice how the armhole has been eased and tightened before the sleeve is set.

P1000138P1000139P1000135

I decided to shape the upper neck edge. An easy way to get a smooth shape that is symmetrical is cut a cardboard template. Press the neck edge under. Flip the template for the other side.

P1000136
Needs sleeve buttonholes and a good final press before I’m ready for trim.
P1000142
Pockets? Undecided yet. I’ll wait and see what the trim and buttons look like first.

couture sewing

Marfy Top Chiffon Version

chiffon topOne more version of the free Marfy top pattern before I retire it for awhile. I needed a simple black top for under suits and this seemed to fit the bill. The flocked silk chiffon is from B&J Fabrics in NYC ( bandj.com ). Using this fabric without lining was out of the question. I’m not into that see-through of a look.silk chiffon
I tried a layer of flesh tone china silk but wanted a softer effect.
chiffon and nude
Tried a black lining but that muted the dotted pattern too much. It looks much darker than the photo shows.
over black
Finally the right combination was to underline the dotted chiffon with a layer of plain black silk chiffon and use the nude chink silk as a lining.
three layers
I also chose to extend the shoulder about an inch for less of a cutaway armhole.
extended shoulder
I basted the two layers of chiffon together and seamed them using French seams. The lining was also stitched at the shoulders and sides with French seams. Baste all layers together before finishing the armhole, back opening and collar. I used silk tulle to create armhole facings. If you’ve never worked with silk tulle before it truly is a magic fabric. I use it to underline laces, stabilize seams and do loads of other finishes where you don’t want any added bulk. It is PRICEY and few shops carry it. It is available in black and off white but dyes easily if you need a special color. Expect to pay $125 to $160 per yard but I save every scrap as it can be used for so many things.
The tulle will stretch more in one direction than the other, (no need to cut it on the bias) so cut two pieces (one for each armhole) two inches wide and longer than the length of the armhole seam. Fold it in half and press. armhole shape tracing
I use a scrap of muslin and trace the armhole shape (no seams) onto the muslin with a waterproof fine point sharpie. You don’t want water soluble ink coming off when you steam. Then shape the tulle to match the traced edge. The folded side goes towards what will be the inside of the garment.
shaping silk tulle
Now you have a perfectly shaped strip to use as the armhole facing. Sew, understitch and press. Tack it to the lining being careful not to catch the face fabric.
facing basted
Inside of the finished top showing edge finishes.
tull binding
The back opening is a slit finished the same way with a narrow strip of silk tulle cut on the straight grain.
back opening
I completed the top with a velvet neckband, buttons and handworked thread loops. The fabric layers are joined together at the side seams with French tacks.
inside french tack
And the back view.
back view

French Jackets

More Chanel

I found fabric for the Little French Jacket Sew Along. This is a metallic tweed and I found a lovely light lilac charmeuse for the lining. Also found buttons but I’m still searching for trim. Fortunately the trim goes on last, so I have time.

ImageImage


I found this photo and fabric and want to finish this before starting the quilted jacket. Here is the photo and I found an almost prefect match at B & J Fabrics.

Image


I used a basic princess line jacket and added the shaped insert at the waist. The challenge was matching this plaid pattern. I cut a full pattern, both right and left sides, so everything could be laid out before cutting.ImageImage

The pattern has no seam allowances. Thread trace around each piece. Without seam allowances, it’s much easier to see exactly where the match points are. I decided to underline this jacket with silk organza. I usually throw the organza in the washer, dryer and then press. That makes the organza softer and preshrinks it. Baste the organza to each pattern piece, making sure to match the grain lines.

There is inly one way to match this pattern and that’s to thread baste each seam from the right side. Turn one seam allowance under, match the plaid and slip stitch. This will hold your fabric without slipping when it is machine stitched. I slip baste with matching thread (in this case black), so it doesn’t need to be removed. You will need to remove the seam line tracing thread.

ImageImage


End all machine stitching where two seam lines cross and tie a knot. Don’t cross one seam with another. It’s amazing how much more fluid the garment feels if you take this extra step. I can elaborate if this isn’t clear.

Finally got the jacket body together! All that basting and matching does take time. I found the prefect white enameled studs on EBay. They are about 12mm in size and looked best to me placed with about 2 cm between each one.

Image


Some photos of the jacket so far.ImageImageImageImageImage

One more sleeve to go. Don’t cut the sleeves until your jacket body is finished. I make a muslin sleeve, pin it into the garment, and mark where the plaid pattern needs to be placed. I then take the muslin sleeve and lay it on the fabric. Allow generous seam allowances in case you need to move up or down to perfectly match the fabric.

Thank you for following my blog. I realize some of this is very technical but please post comments and I’ll try and clarify anything you aren’t sure of. I love couture sewing and appreciate the time and skill that goes into those spectacular runway designs.

I’ll get this jacket (and hopefully skirt) finished and start on the quilted jacket next week. Please check back for updates.